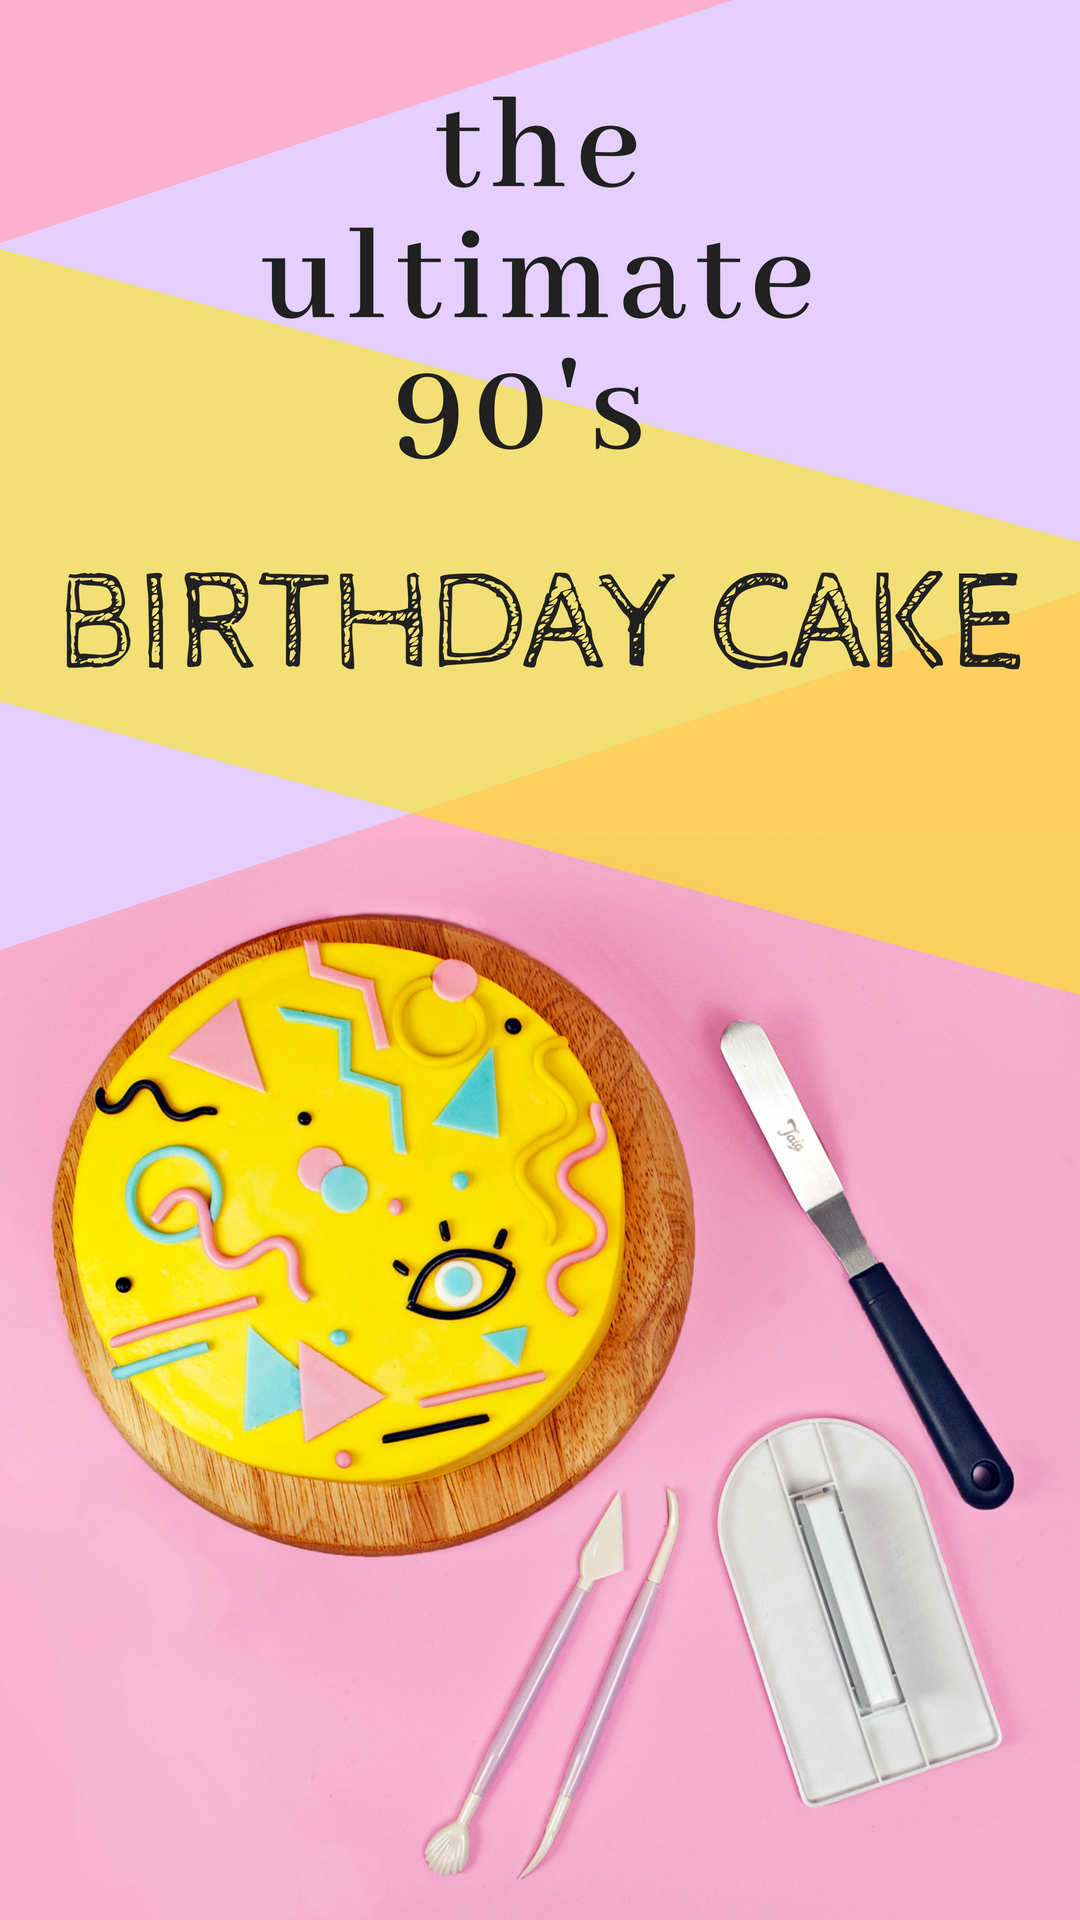
The Ultimate 90's Cake DIY
I’m getting that retro feeling again! I took my most favourite elements of the owl cake from last week and the Blink 182 cupcakes the week before (short cake, 90’s vibes) and came up with this little bad boy, what d’you think?? Making my Luna Lovegood inspired owl made me realise not all cakes have to be tall, in fact decorating on the top of the cake instead is not only super cute but also way easier too. And then I threw in some serious 90’s feels and came up with this beaut. Remember those awesome 90’s patterns? I’m thinking the Saved By The Bell title, California Dreams, Sister Sister, you get the jist. So, I googled 90’s patterns, gathered up a mental note of all the best shapes and this is what came out the other end. And I love it!
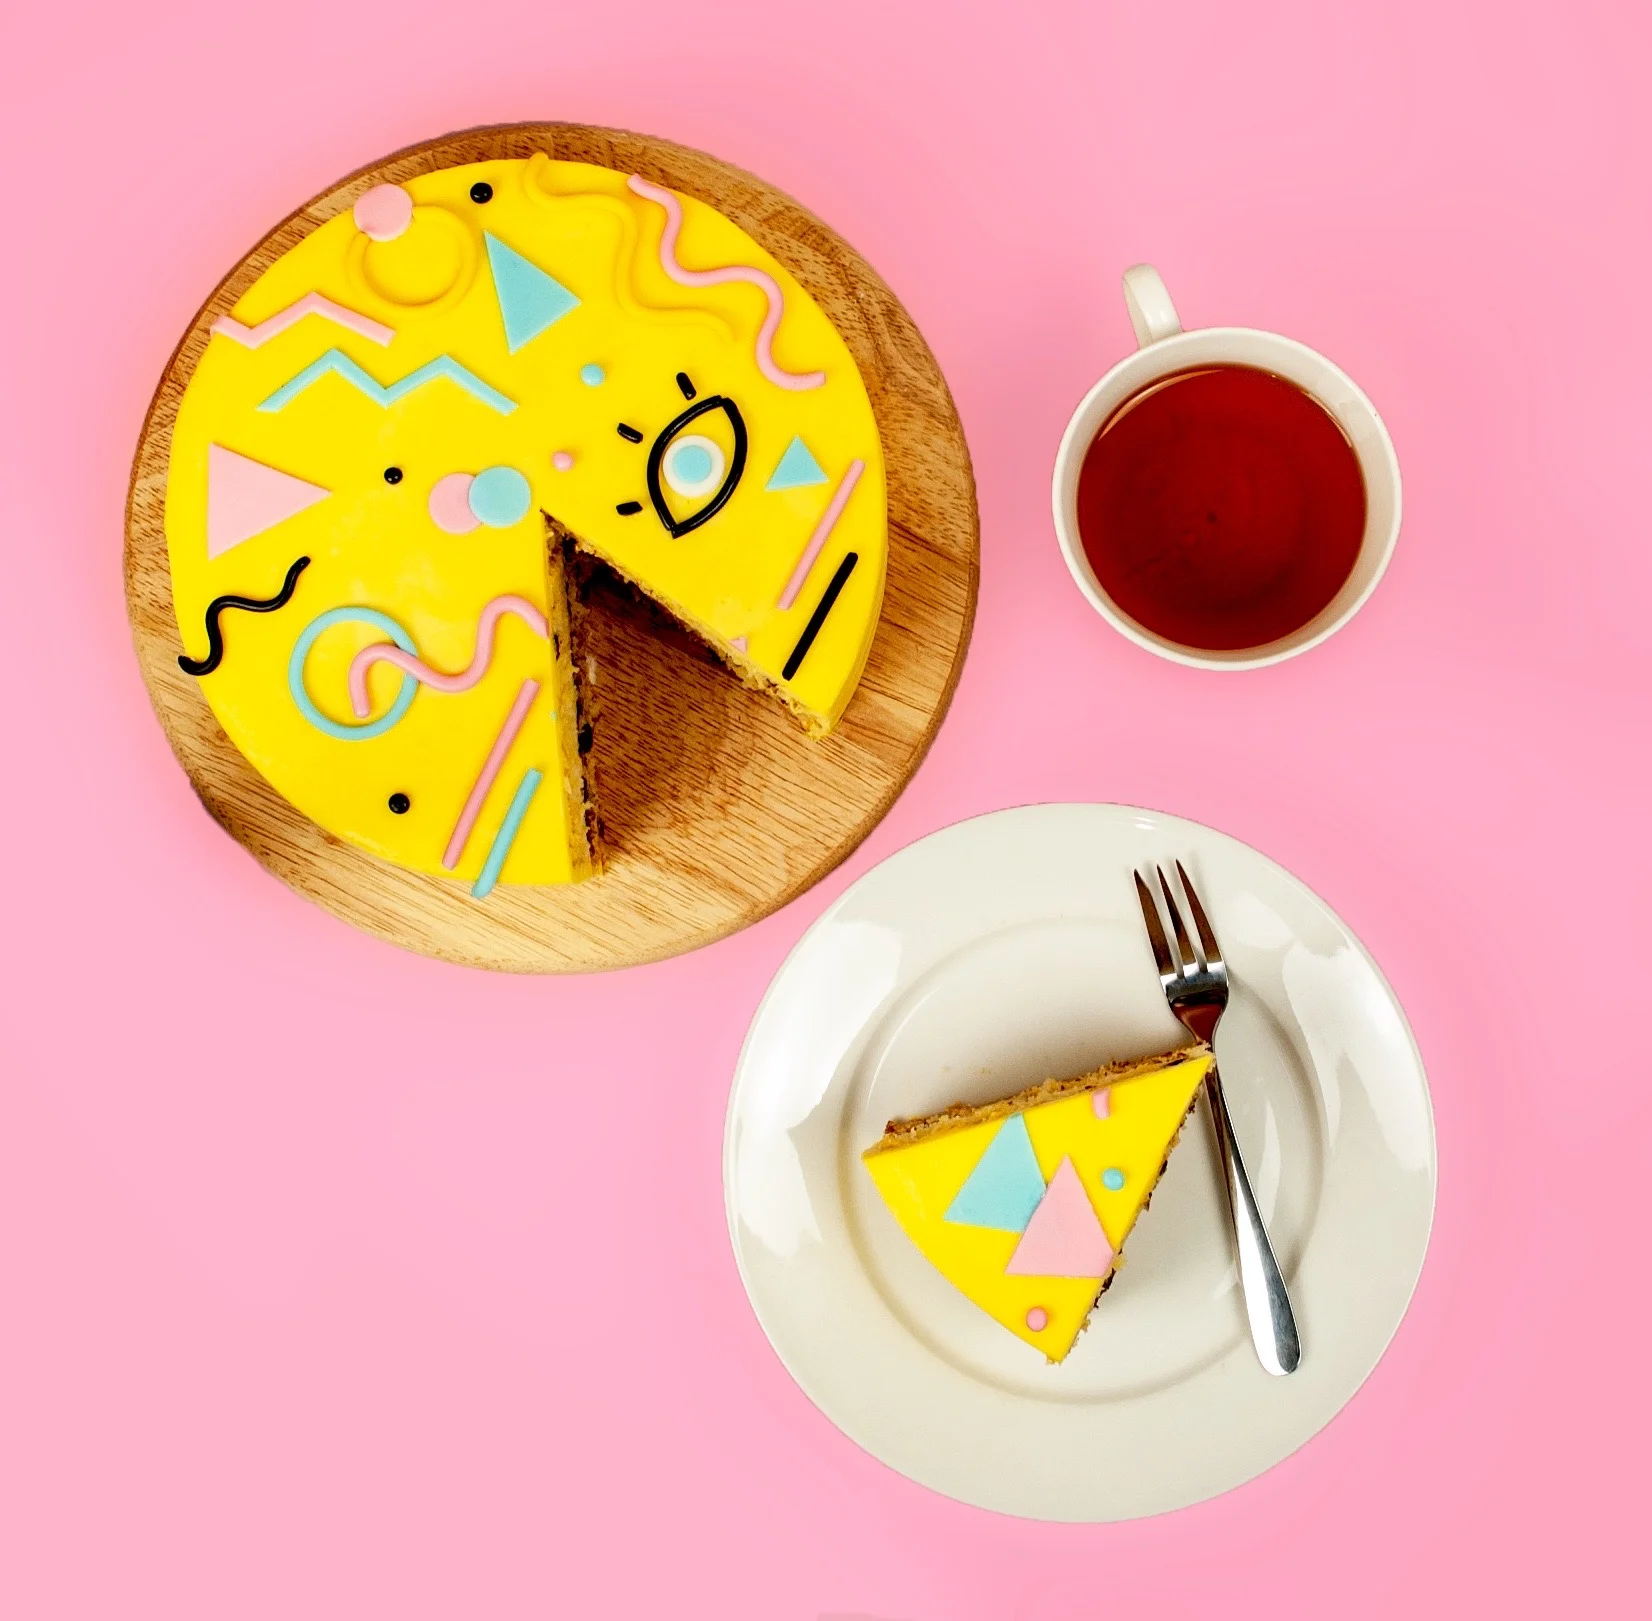
It’s totally beginner friendly, and really fast! I swear the entire decorating took less than an hour (minus the chill time). Which came in really handy this week cos I lost the whole of Saturday to a Netflix and popcorn binge. Imagine My Best Friend’s Wedding, Practical Magic and You’ve got mail in the one day. It was glorious, I have no regrets.

Oh, which brings me to my next point. I decided (starting from this week) to switch my posting day from Monday to Tuesday. Now that I do all my baking on Sundays it made more sense to give myself a little extra breathing room. Plus, Tuesdays are Bake Off day so you know, I’m keeping it in the family.
And lastly before we crack on I need to get the housekeeping out the way. If you haven’t already, please come follow me on Insta @icinginsight or Pinterest if that’s more your thing @icinginsight otherwise you might miss out and that would suck. Or if you wanna be even more of a superstar join my mailing list, sign up is at the bottom. I promise your email address is in safe hands, I use it to keep you updated with my weekly newsletter, so you never miss out. And you can hit me up any time with all your baking related queries.
Ok, shall we?
Ingredients
Cake
8oz butter (room temperature)
8oz sugar
4 eggs
7oz self-raising flour
1oz plain flour
4tsbp milk
3½oz chocolate chips
Icing
9oz butter
18oz icing sugar
1½ tsp vanilla
2oz black fondant
2oz blue fondant
2oz yellow fondant
2oz pink fondant
1oz white fondant
Yellow food colouring
Cornflour for dusting
Method
1. Line two 8-inch cake pans with parchment paper and preheat the oven to 180°C/160°Fan.
2. In a large bowl cream together 8oz of butter and 8oz of sugar until its pale and fluffy.
3. Into the bowl, sift 7oz of self-raising and 1oz of plain flour and then add 4 eggs and 4tbsp of milk.
4. Mix everything together until you have a smooth batter, careful not to overwork. Fold in 3½oz of chocolate chips.
5. Split the batter between the 2 lined pans and bake in the oven for 25 minutes or until a skewer comes out clean.
6. Leave the cakes to cool in the pan for 5 minutes before turning out onto a wire rack.
7. In a large bowl beat 9oz of room temperature butter until its very pale and fluffy. Gradually add 18oz of sifted icing sugar beating well in between each addition.
8. I find the more I mix the buttercream the smoother it becomes. When you’re happy with the texture, mix in 1 ½ tsps of vanilla and a few drops of yellow food colouring (gel works best cos it doesn’t change the consistency of the buttercream).
9. When the cakes have completely cooled, layer one on top of the other with a thick layer of buttercream between.
10. Cover the entire cake in a thin layer of buttercream and place in the fridge. This is crucial because it picks up all the crumbs and sets them in place so that the next layer of frosting can be totally smooth and flawless.
11. When the cake has chilled, apply a thicker layer of frosting all over and smooth with a bench scraper or palette knife. Return to the fridge for another 30 minutes.
12. To get a really smooth finish on the buttercream fill a mug with boiling water and place a small palette knife into it to heat the blade up.
13. When the blade is hot, remove from the water and dry completely with a kitchen towel. Run the hot palette knife over the cake in small sections to smooth out the surface. Try to work as quickly as possible so that the buttercream doesn’t melt.
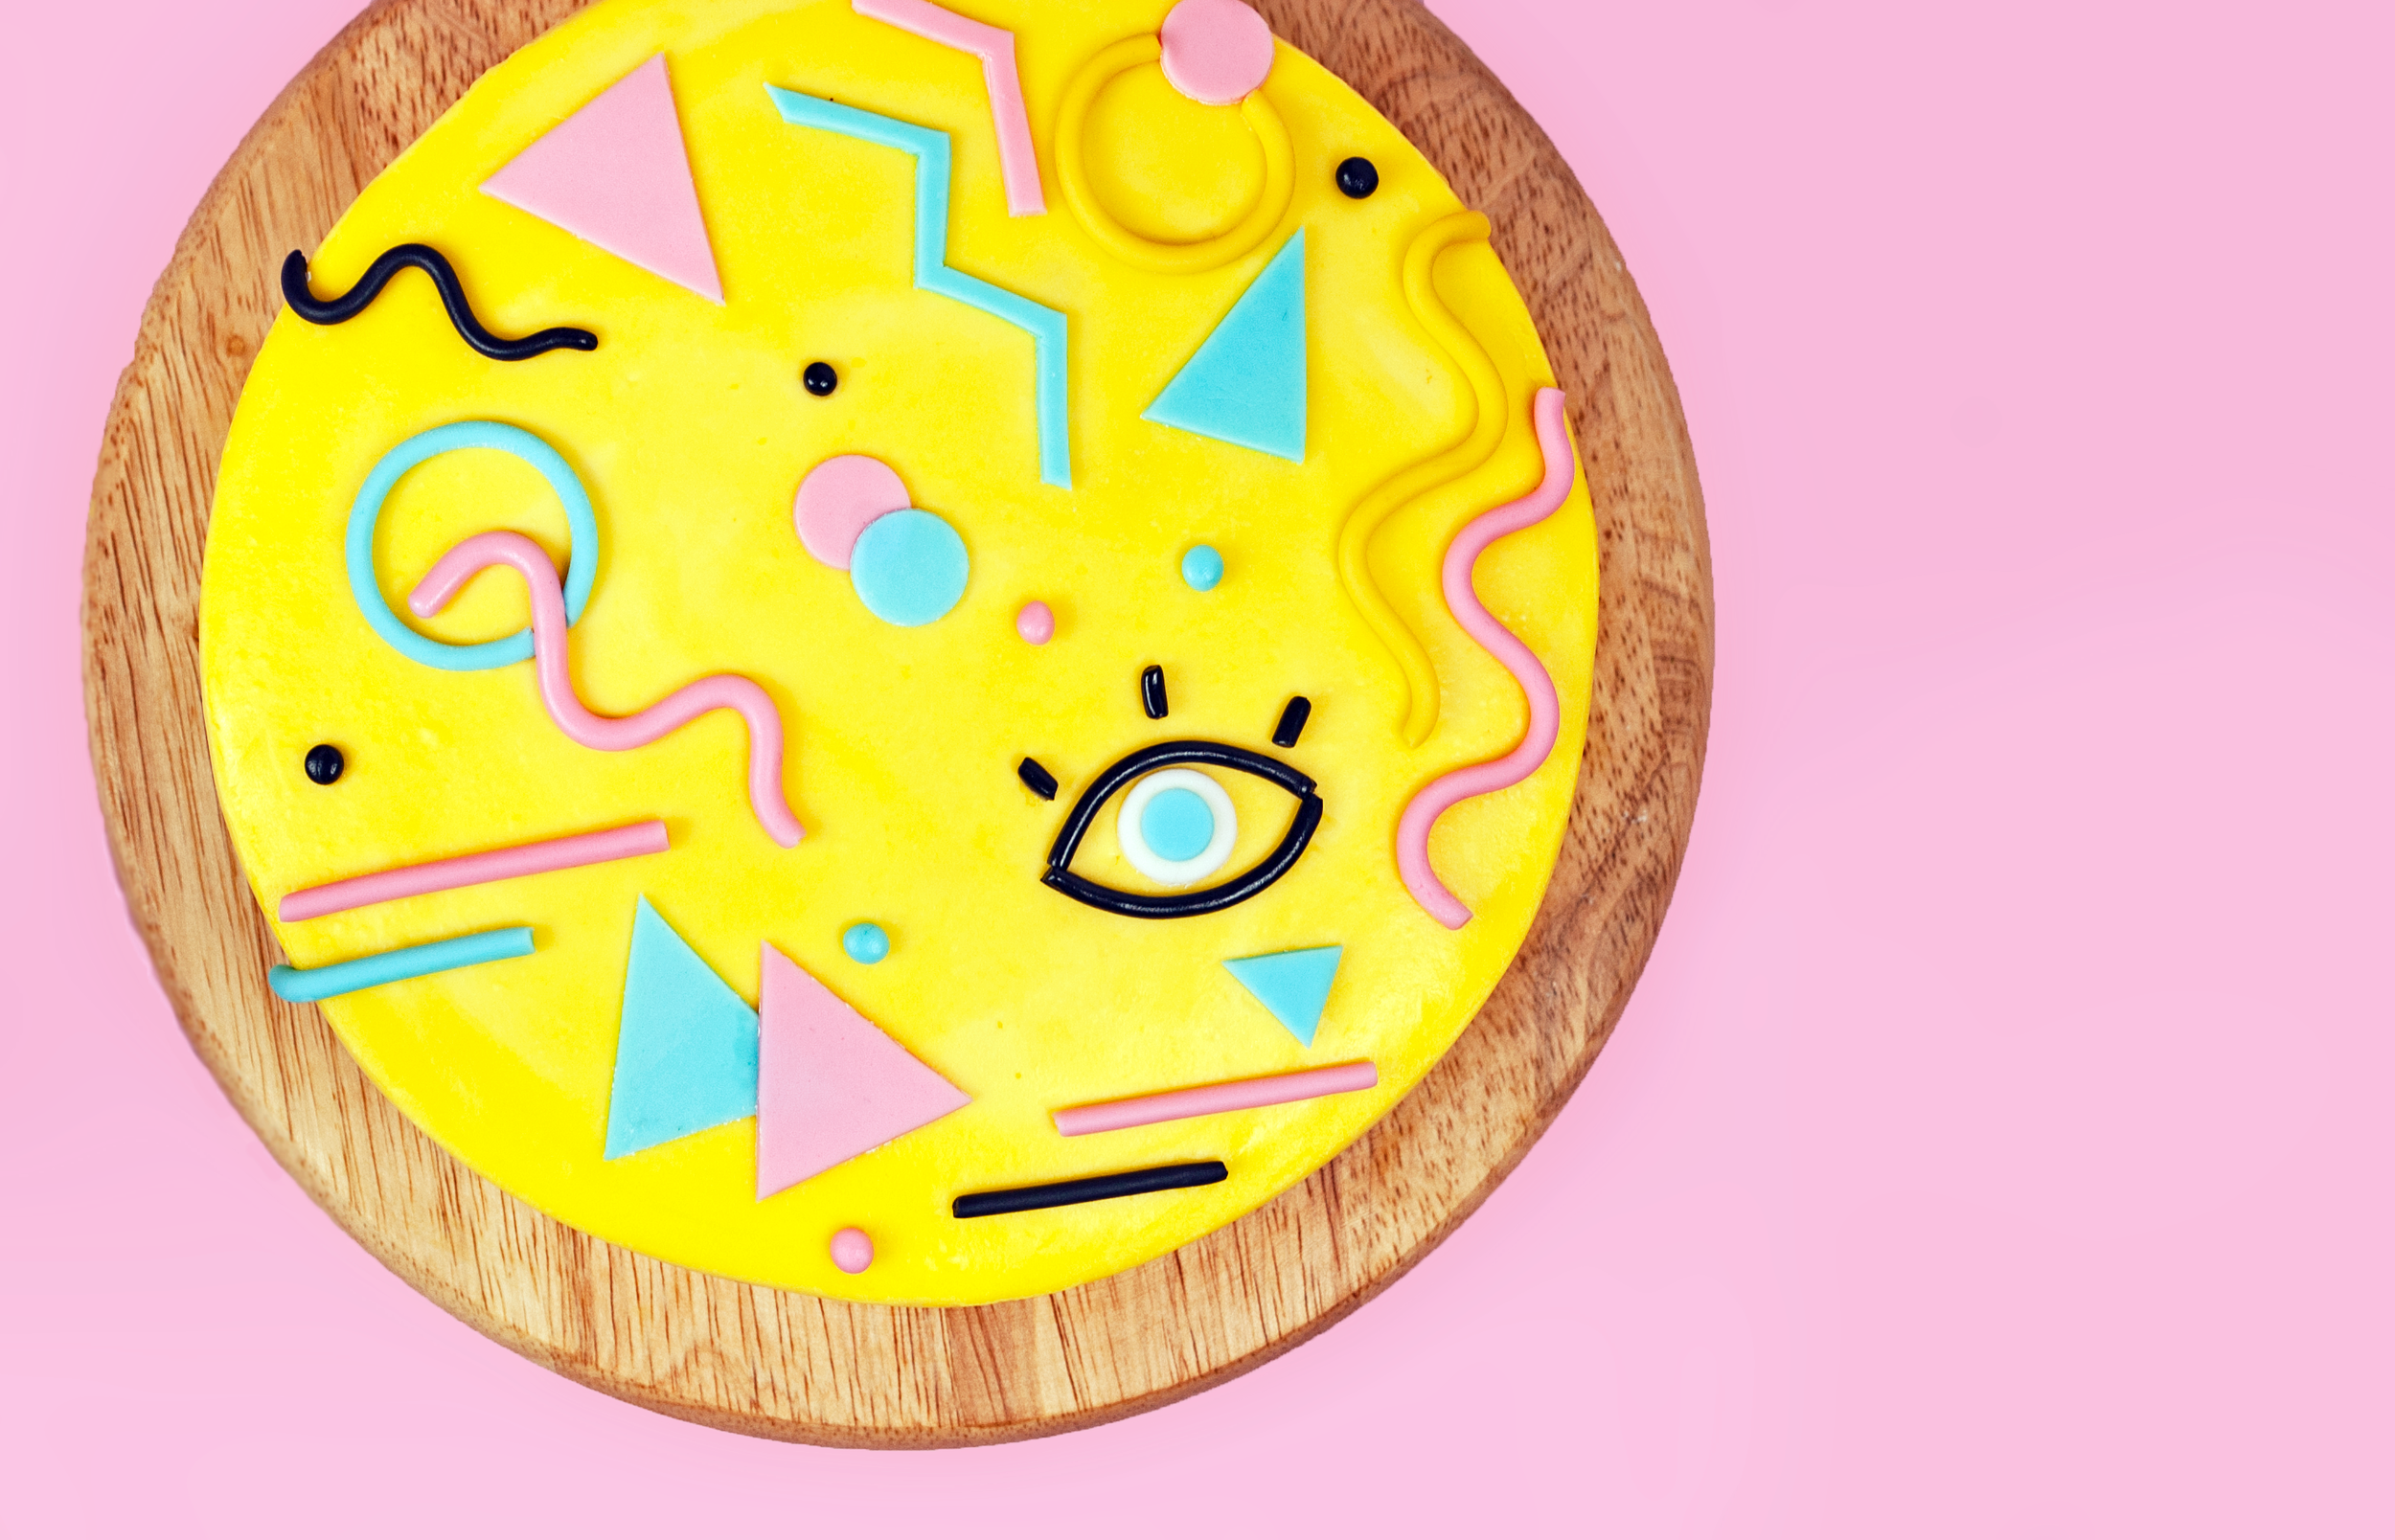
14. When you're happy with the buttercream we can start on the pattern. This works best if the fondant is quite dry so dust a little cornflour over your work top. Everything is really small so we don’t have to worry about it cracking.
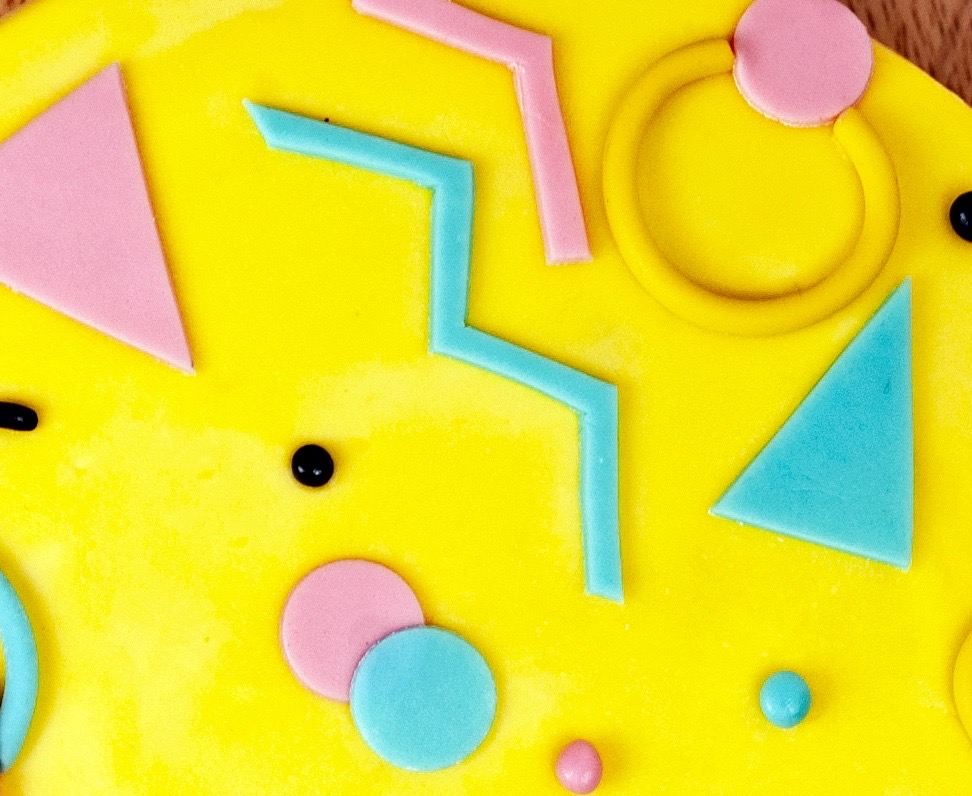
15. First up, roll the blue fondant to 1mm thick and cut out 2 small circles, 2 large triangles, and a thin zig zag. Move these to the side to dry slightly and repeat in pink. Finally, cut a medium circle in white fondant.
16. Next, roll a small piece of black fondant into a thin rope about 6cm long. To get it really even I find it’s best to use a fondant smoother.
17. Cut the black rope in half and line the 2 pieces up next to each other to check they are the exact same size. Trim any excess.

18. Place the first black rope on the cake, curving it round to make the top side of an eye. Follow with the second piece to complete the eye shape.
19. Roll another rope in black fondant the same thickness as before and trim it into 3 small pieces. Place these around the top of the eye as lashes.
20. Inside the eye, add the white circle then brush the top of it lightly with water. Add the small blue circle on top of this.
21. Next up we’ll move to the circle outlines. Roll out some ropes, this time one blue and one yellow.
22. Remove the lids from a couple of spice jars and clean them out (the lids not the jars).
23. Dust the lids with a little cornflour and then run the fondant ropes along the inside to make a perfect circle. Trim the excess so there’s a small gap. Leave to set for 5 minutes each before turning out. Place them into position on the cake.
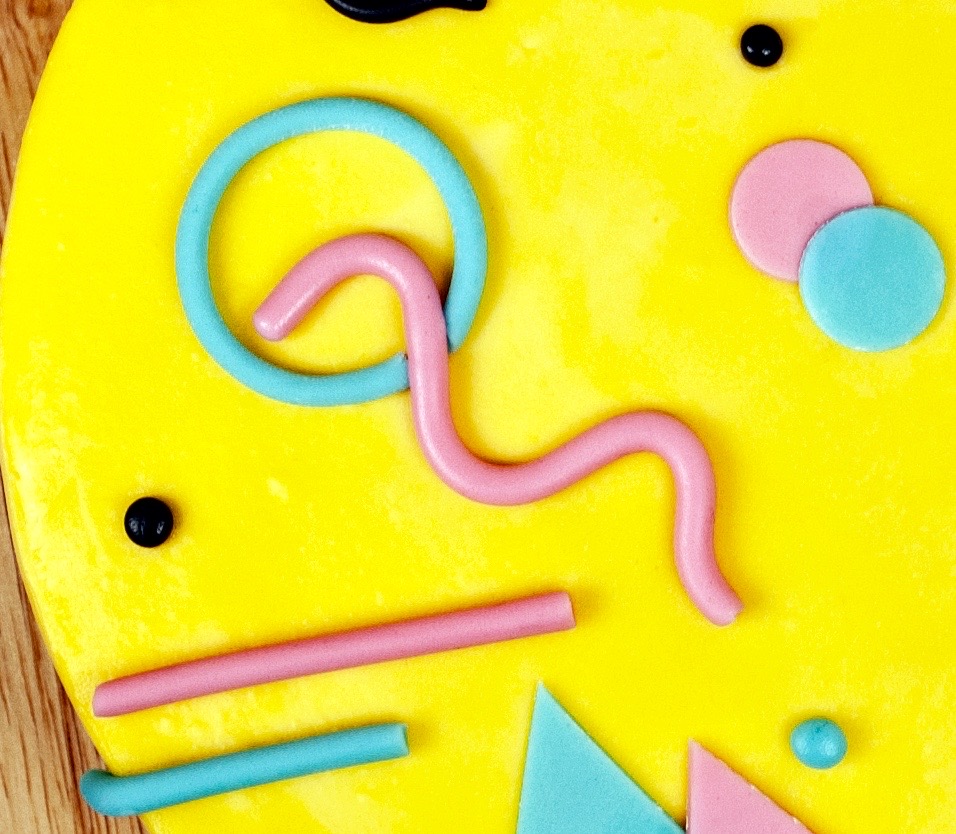
24. Into the gaps, lay a pink circle in the yellow rope and for the blue, roll out a pink rope and place inside in a squiggly shape.
25. Roll out some more ropes in each colour and lay across the cake both in straight lines and squiggles to follow the pattern.

26. Into the empty spaces, places the triangles and zig zags we left to dry earlier.
27. Finally, roll tiny pieces of fondant in the palm of your hand with your forefinger until they become little balls and dot these around the cake to complete the look.

And we’re done! How easy was that?