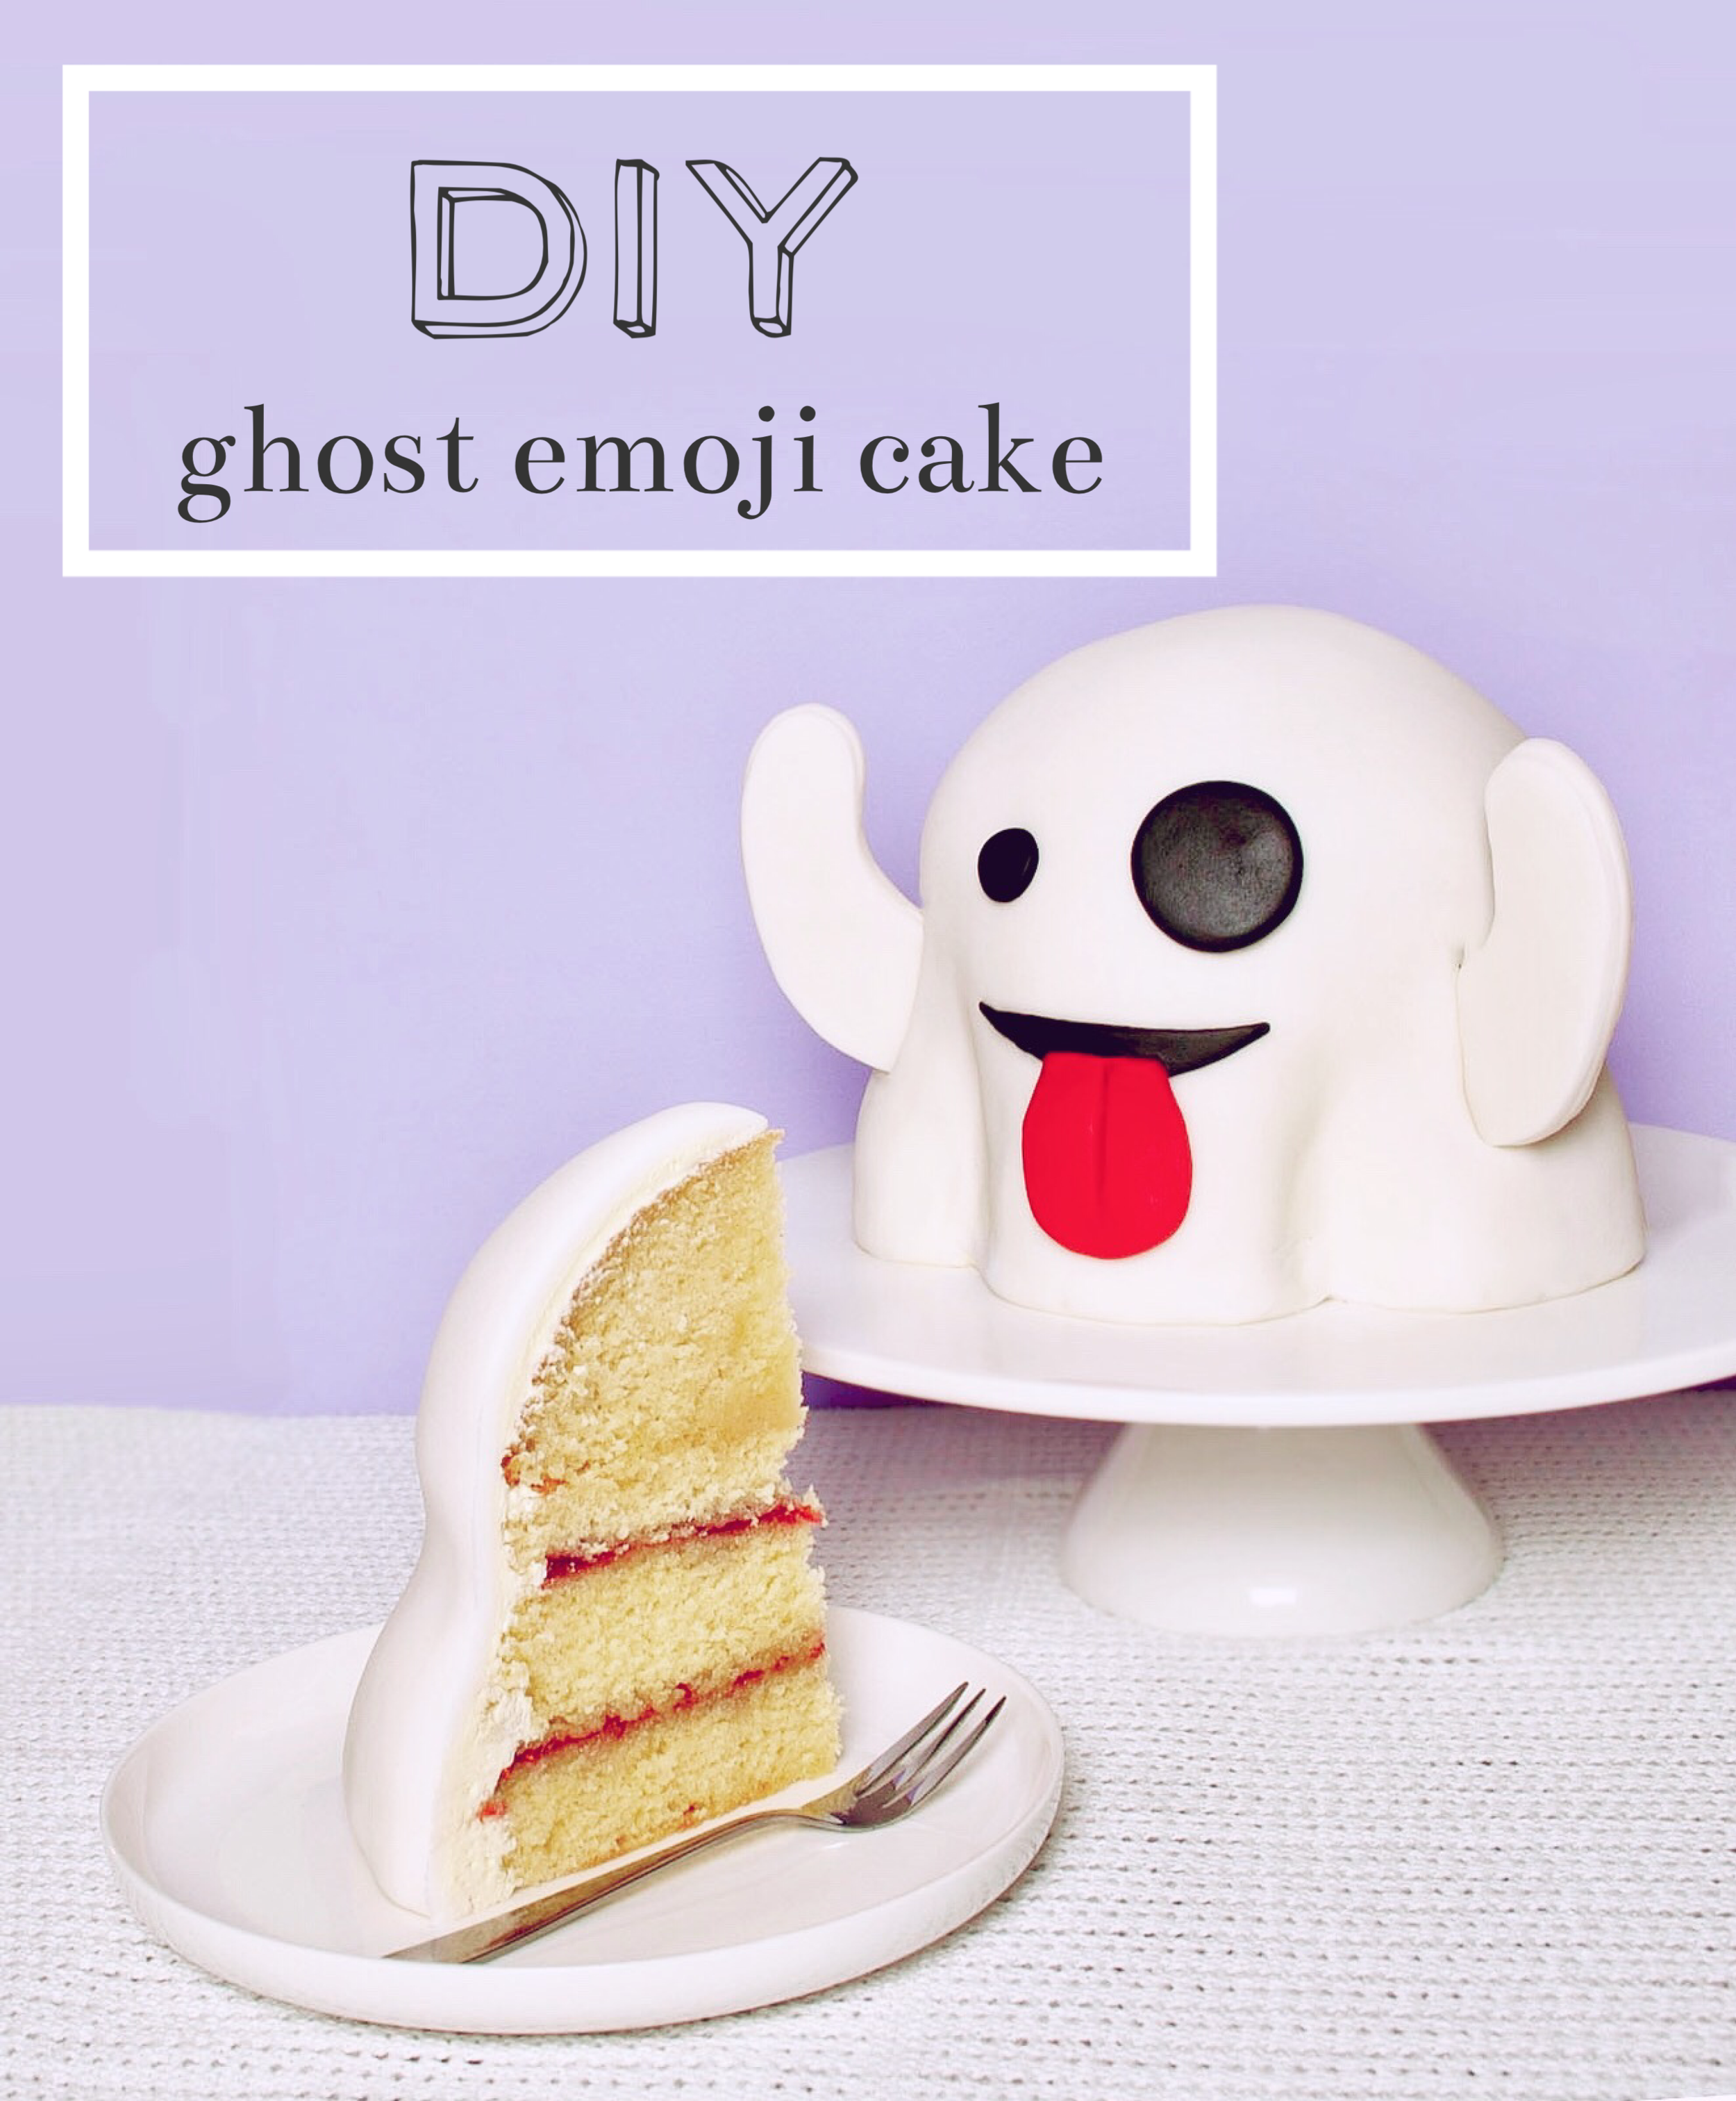
DIY Ghost Emoji Cake - Boo!

Hey hey! I’m back! Sorry for the little absence there, I got caught by the dreaded cold and no-one wants to eat cake from a sniffly baker. So, instead I thought I would let myself recuperate and then hit you guys with a double whammy now I’m better. First up we’ve got this freaking cute AF ghost emoji cake and coming your way next Tuesday, the cutest little vampire you ever did see. I can’t wait!

I mean, I couldn’t miss two whole weeks in Halloween, it is the best time of year and I wanna revel in it as long as humanly possible.

So, shall we get a shift on? (sneaking in the Jodie wherever I can!)
Ingredients
Cake
400g butter
400g sugar
350g self-raising flour
50g plain flour
7 eggs
3 tbsp milk
6tbsp raspberry jam
Decoration
250g butter
500g icing sugar
2 tbsp lemon juice
1kg white fondant
50g black fondant
50g red fondant
4 toothpicks
Method
Arms
Let’s start with the arms cos they need a little extra time to dry so that they’re good and sturdy by the time we pop them on lil miss ghost here.
First up we need a template, sketch this out on parchment paper and then cut out with scissors.

Next up, roll a small piece of white fondant to 2mm thick, large enough for two arms. Place the template over the top of the fondant and cut around it twice so you have 2 arms.


Dampen the top surface of one with a little water and place 2 toothpicks at the straight bottom edge, half in the fondant half out. Gently press them into the fondant so they lie pretty flat. Add a layer of rolled fondant on top and trim away the excess. Using a dry finger, gently smooth the edges.
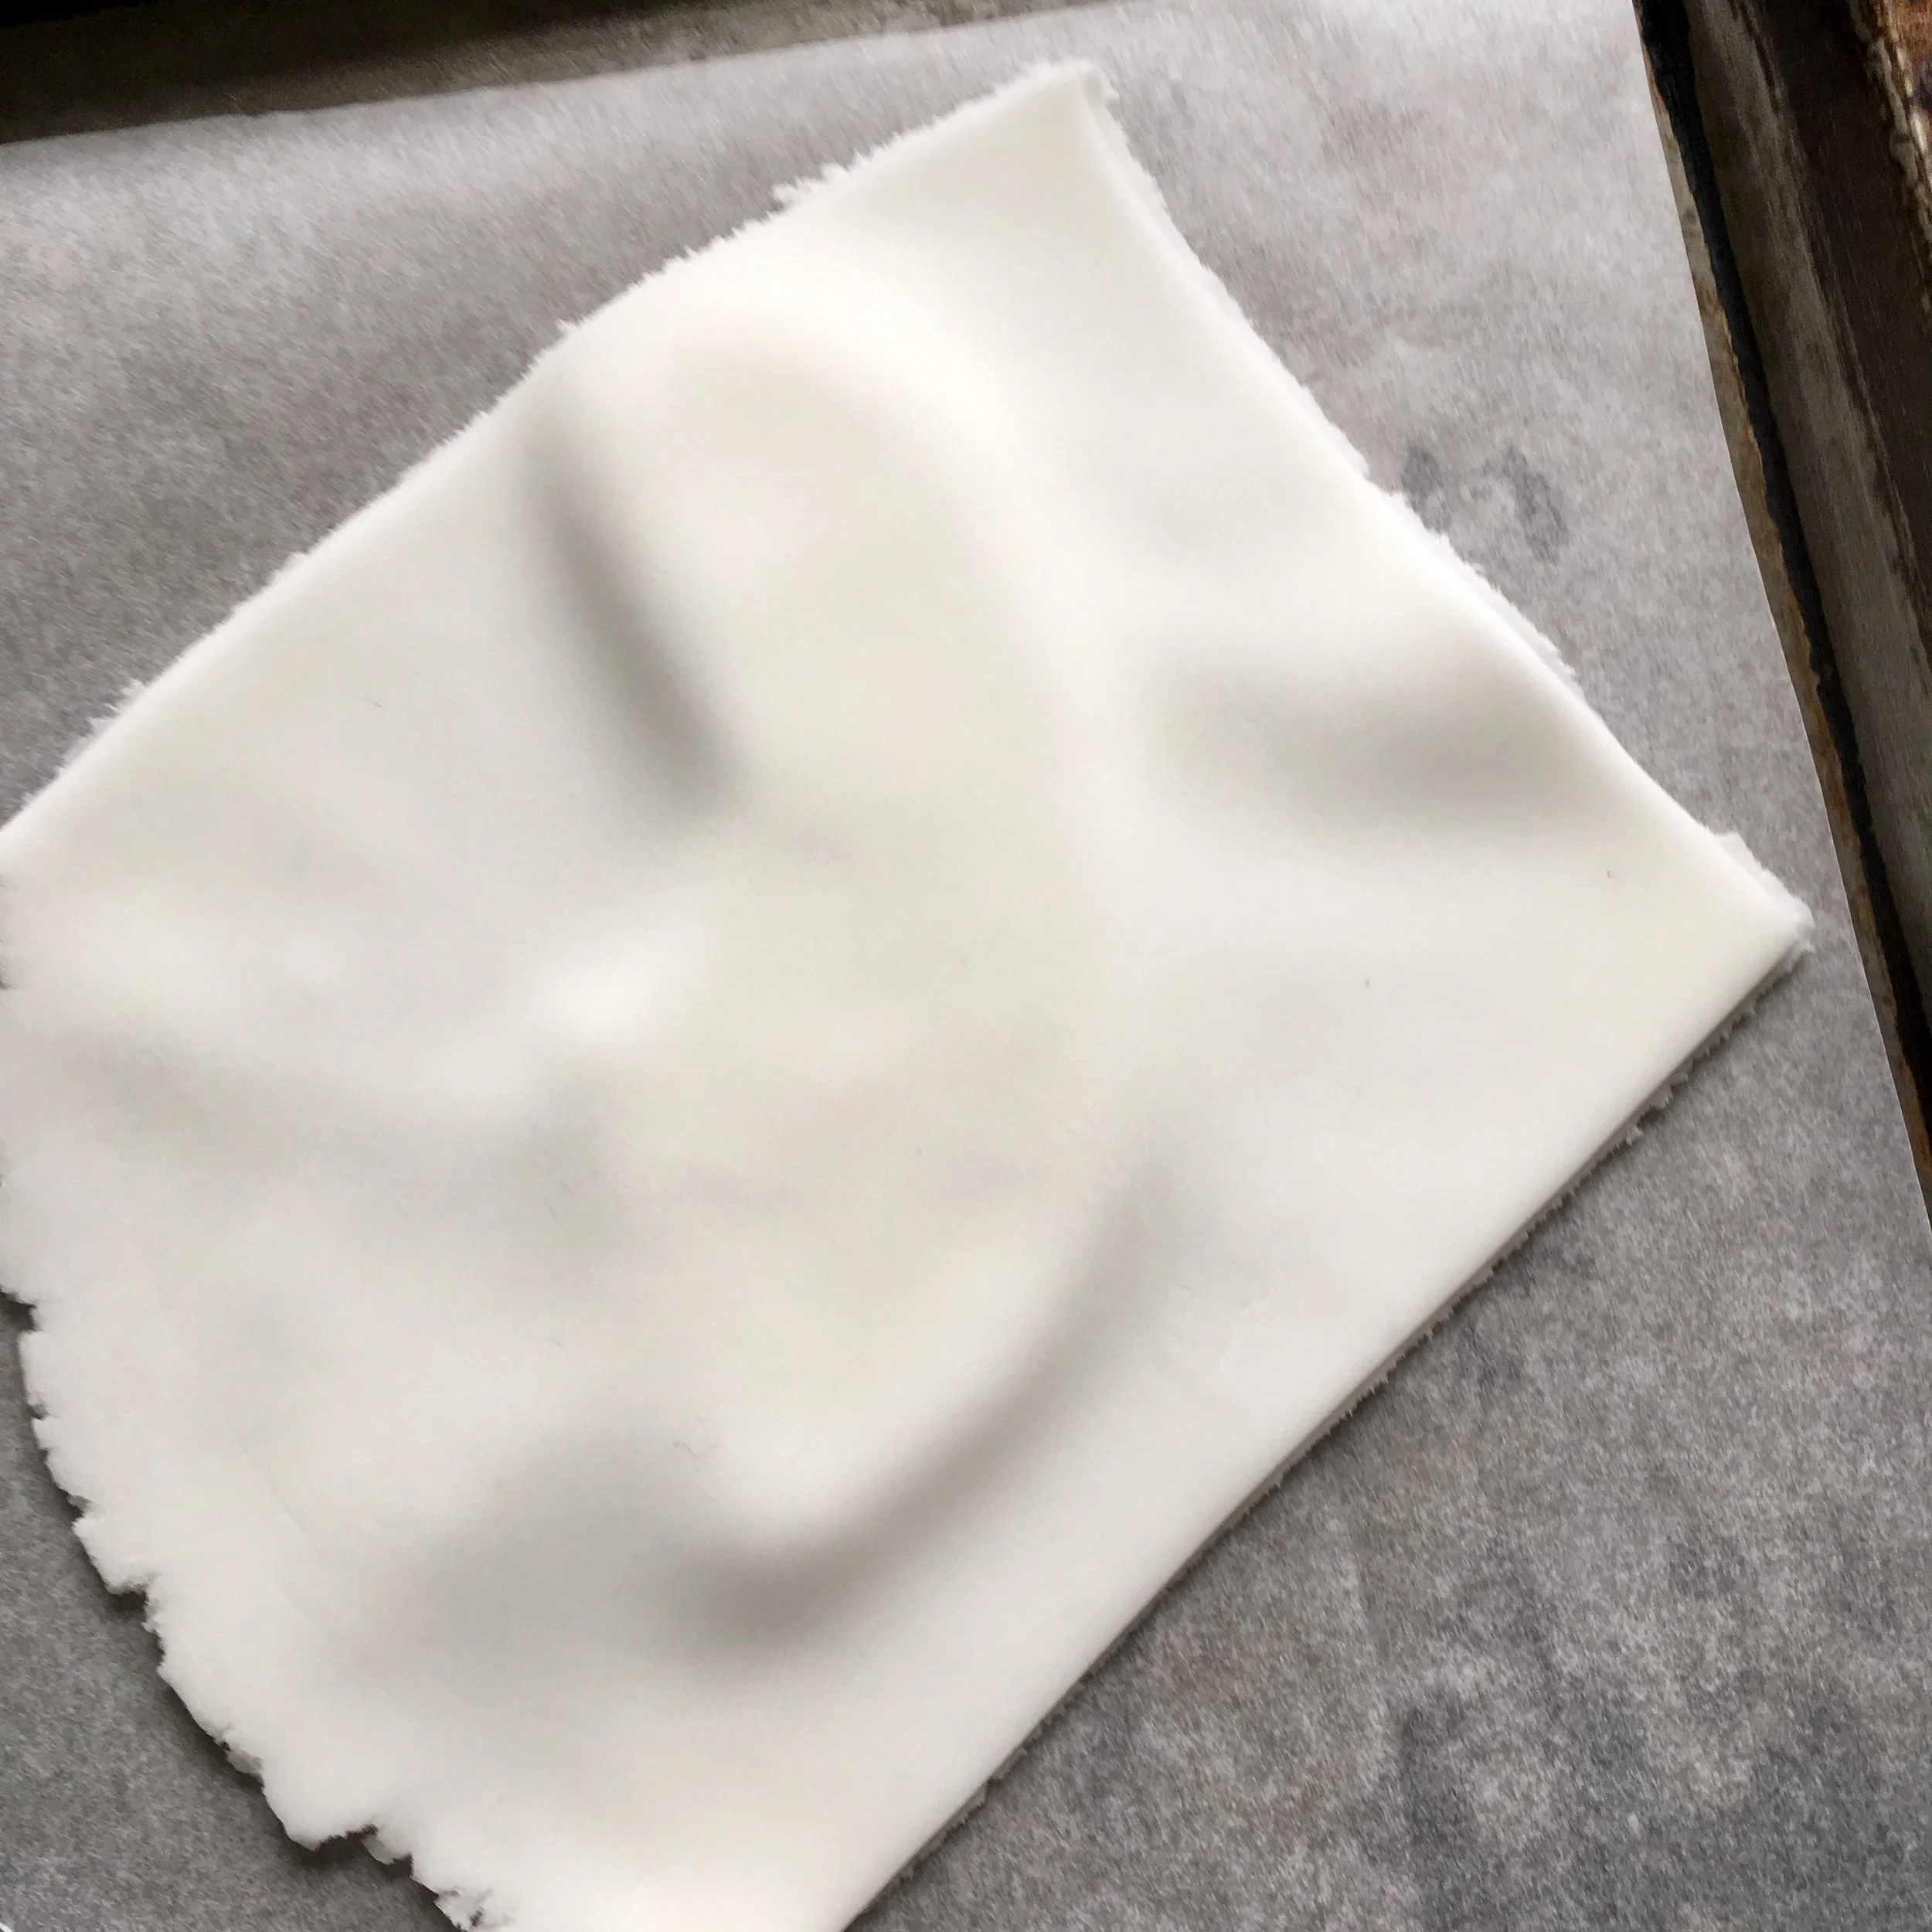
Repeat for the next arm and leave both to dry on a piece of parchment overnight.
Baking
This is a deceptively big cake so trust me when I say you’re gonna wanna grab a really big bowl. Line a 6-inch half sphere cake pan and two 7-inch regular round pans with parchment paper and preheat the oven to 180C/160 fan. To line the sphere pan cut thin strips of parchment paper and lay them in a star pattern. Remember to trim the excess parchment from the top otherwise the air in the oven might blow them into your lovely cake (totes happened to me).
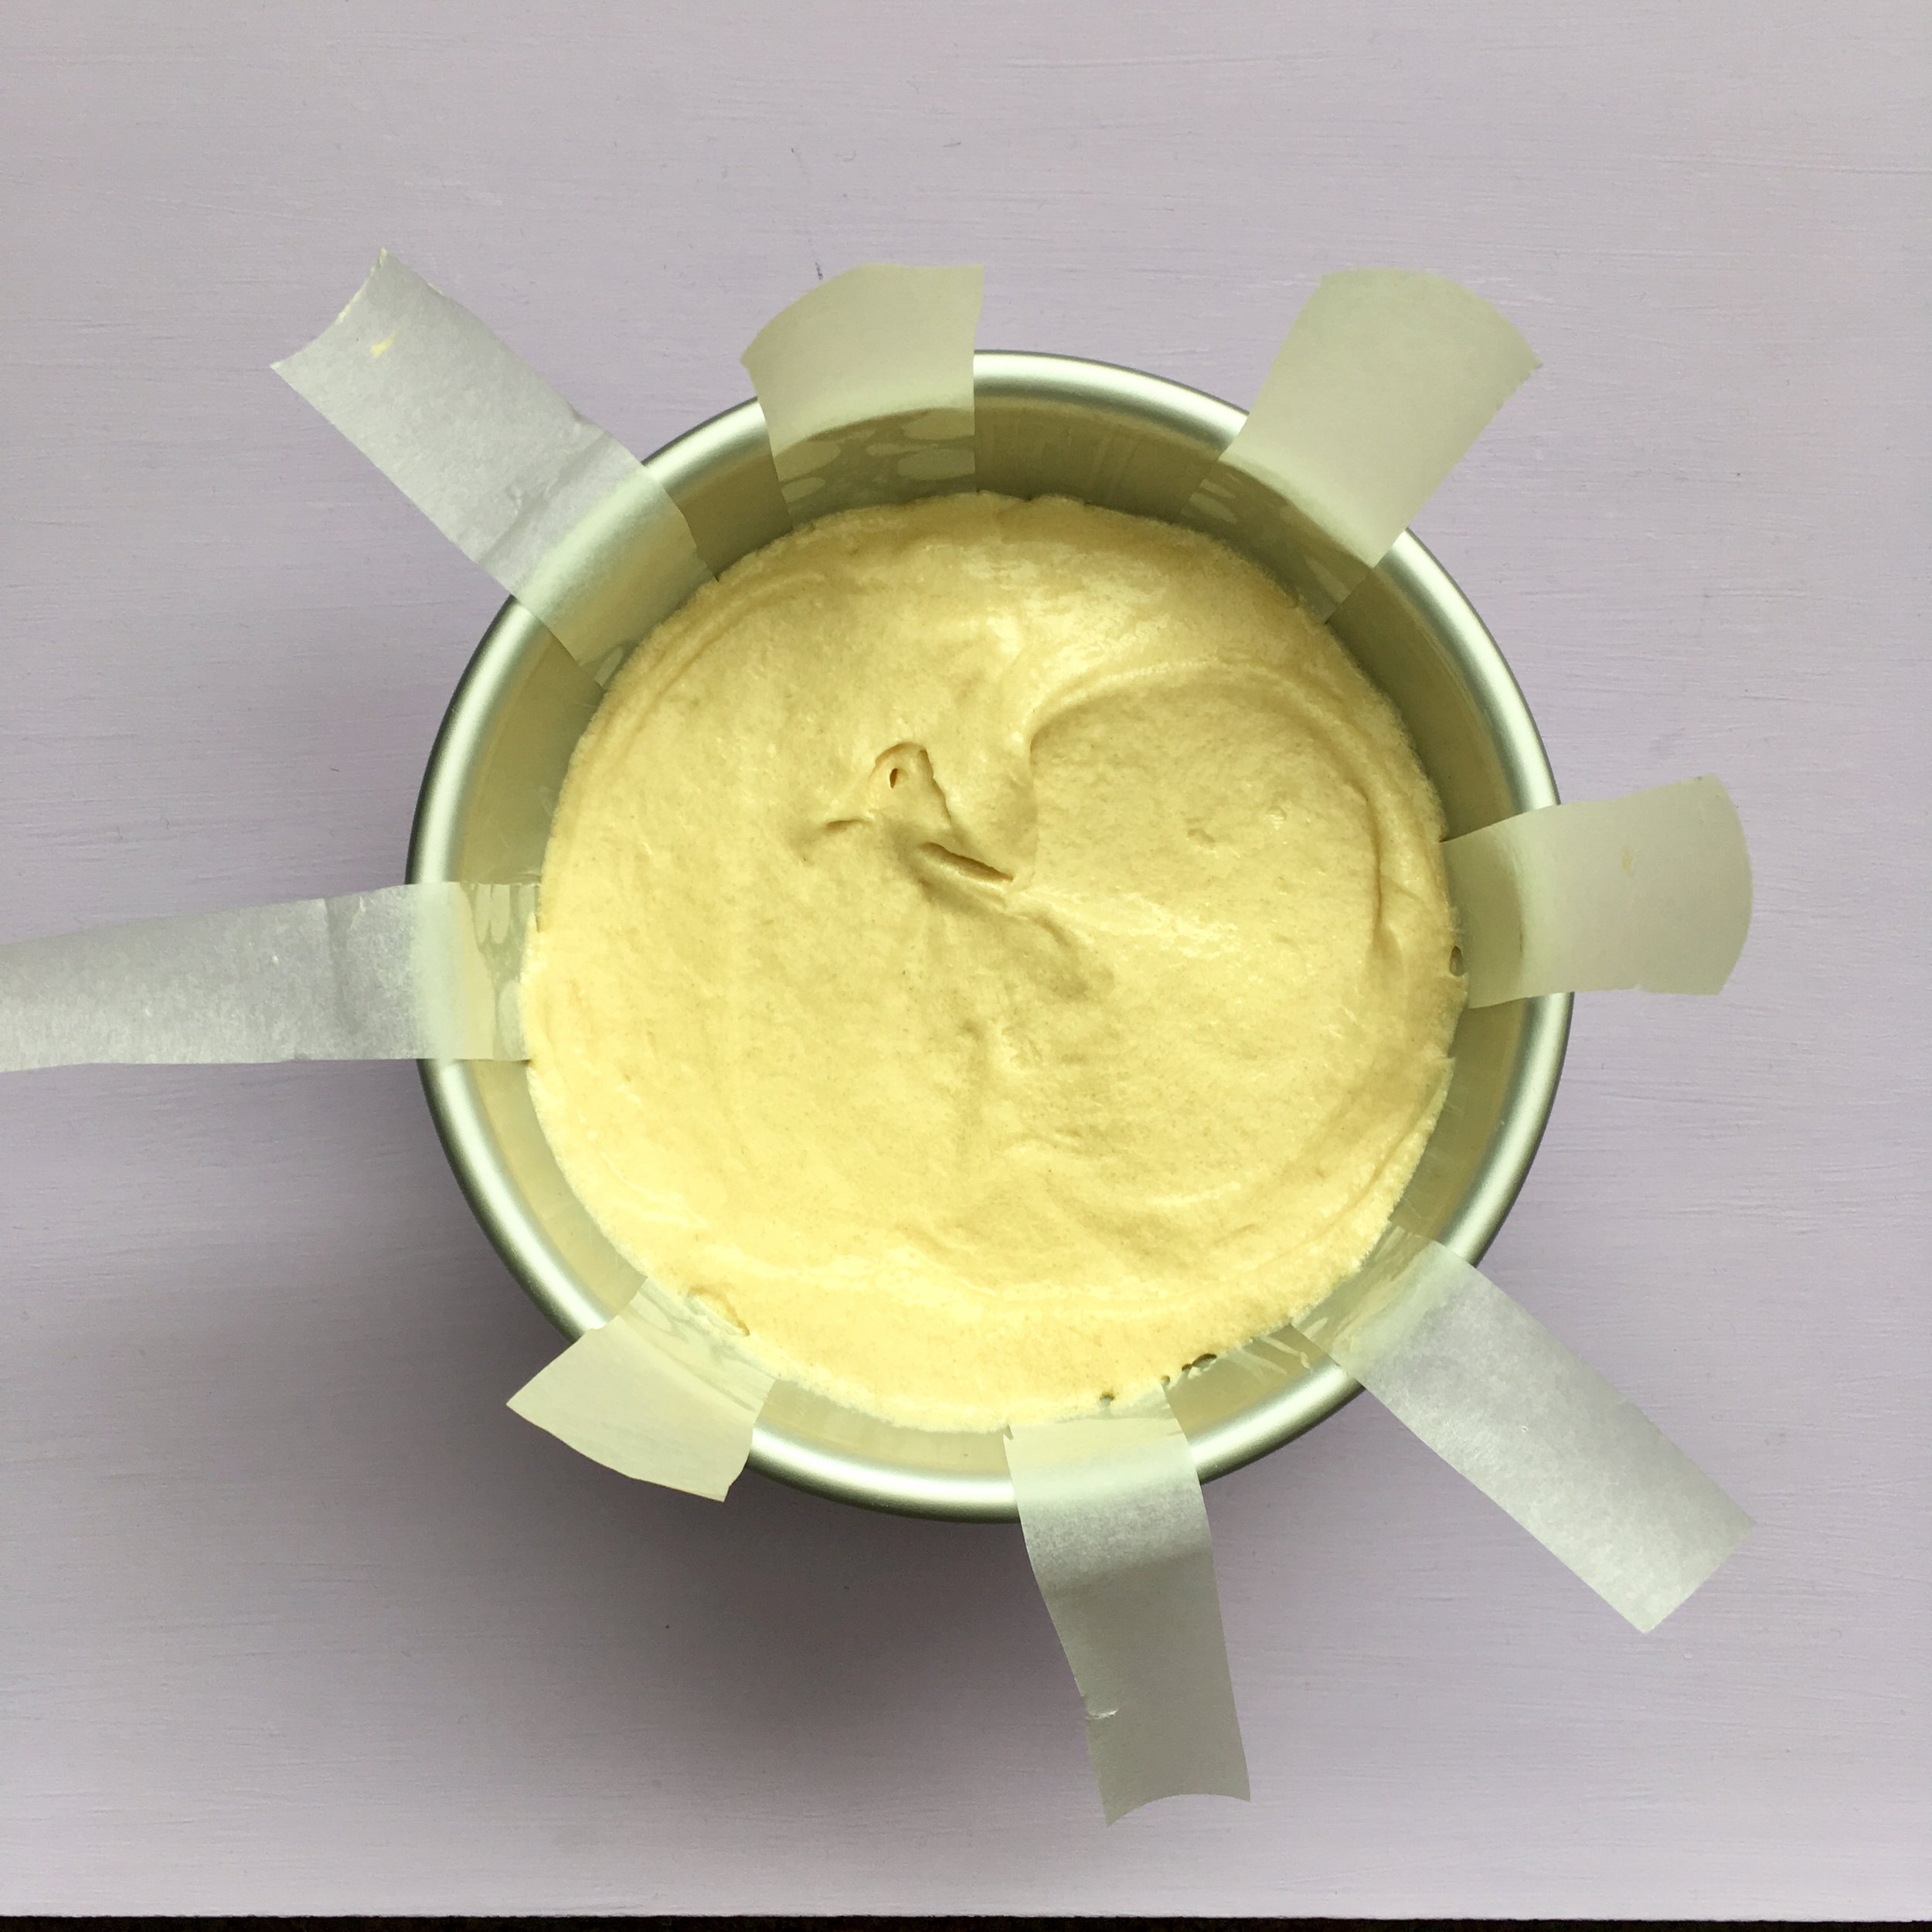
Grab your biggest bowl and whisk 400g of sugar and 400g of butter together until they’re pretty pale and a little fluffy. Next, add in 7 lightly beaten eggs and 3 tbsp of milk (gradually) until well mixed. Finally, sift in 350g of self-raising flour and 50g of plain flour and fold together until smooth but careful not to overwork.
Pour the batter first into the sphere pan until roughly 2cm from the top and then split the remainder evenly between the 7-inch pans. Bake the sphere pan for 45-50 minutes and the 7-inch pans for 25-30 minutes in the preheated oven. When a skewer comes out clean, remove them from the oven and leave to cool in the pans for 5-10 minutes before turning out onto a wire rack to cool completely.
Fill, stack and carve
I went really simple inside for a few reasons, first I loved the colour of the red raspberry jam cos it had a super cool Halloween feel for me and secondly by stepping back the sweetness on the inside it balances out the sugar hit from the fondant on the outside.
Before stacking, go ahead and level off the tops of all the cakes to get them as flat as you can. And eat the scraps cos babe, you earned it.
To attach the bottom layer to the cake stand I used a little drop of golden syrup but you can smear on a little jam or buttercream if that’s easier. On top of the syrup, lay the first 7-inch sponge and try to line it up in the centre.
Spread a layer of raspberry jam (2-3tbsp) on top and then add the next 7-inch sponge. Finally, add another layer of raspberry jam and add the half sphere cake. Leave to set in the fridge for 30 minutes.

To carve, let’s start with evening out the join between the 7-inch cakes and the sphere. With a large serrated knife, start from the top of the 7-inch cake and carve down at an angle to meet the bottom edge of the cake. Go around until it’s all even. Next check for flat edges around the cake and use your knife to even this out and make it a little more rounded. Lastly, lets carve in those cute ruffles. Mark with your knife vertical lines where you want the indents to be, they should be roughly 2cm long from the bottom up. Starting from ½ cm either side of these guidelines, cut in at an angle to meet them roughly 1cm deep into the cake. Once you have the basic dent, use your knife to carve a little roundness into each edge Continue until the ruffles go all the way around.
Cover
In a large bowl, whisk together 250g of butter, 500g of icing sugar and 2tbsp of lemon juice until smooth and easy to spread. Cover the entire cake with a thin layer of this buttercream, it might get really crumby because of all the carving but don’t worry, as long as you catch them all in buttercream it will all work out, I promise. When it’s fully covered, pop it back in the fridge to chill for 30 minutes.

After chilling (I hope you had cuppa) apply a second layer of buttercream all over (pretty thick this time). Pay careful attention to the join between the cakes, use the buttercream to smooth that dent between the sphere and the flat cakes, bridging the gap so to speak. Pick one of the outward bumps to be the front of the cake. Here, build up the buttercream even more to give a really flat front. By keeping the front flat, we get a bigger surface for the face. When you’re happy, do a rough smooth over with a palette knife. Return it to the fridge for another 30 minutes.


After the second chill, fill a cup with boiling water and dip your palette knife in to warm it. Dry it off and then use the warm palette knife to smooth out any rough edges. This can take a little time because of all the uneven surfaces on this cake but I promise your patience will pay off.

When you’re happy it’s all smoothed out, use a measuring tape to gauge how big you’ll need your fondant to be. Roll out the remaining white fondant large enough to cover your ghost and lay it over the top of your cake. Work it in to all the edges from the top down, really focusing on all those ruffles. Trim the excess from the bottom and use the blunt edge of your knife to gently tuck the bottom of the fondant slightly underneath the cake. Lastly, use a fondant smoother to gently smooth the surface, being really careful on the edges.


Decorate
While the fondant is still soft, push the arms into place. If you wait the fondant might crack with the pressure of the arms going in.
Roll a small piece of black fondant to 1-2mm thick and cut out 1 large circle and 1 small for the eyes. Attach in place by dampening the back with a little cake alcohol or sterilised water (water that’s been boiled the cooled).


Next cut out a small moon shape in black fondant for the mouth and attach to the cake.
Roll the red fondant to 2mm thick and cut out a tongue shape. Attach to the cake. Using the blunt edge of a knife, press a line down the centre of the tongue, careful not to cut all the way through.

Using a dry finger, gently rub around the edges of each of the features to soften out any hard edges.
Finally, mix a drop of red gel food colouring with a few drops of water. Use this as edible paint to paint down the centre and the outside edge of the tongue and then blend it out. It helps to give her face a little more depth and really stand out.
And we’re done! Cool huh?