

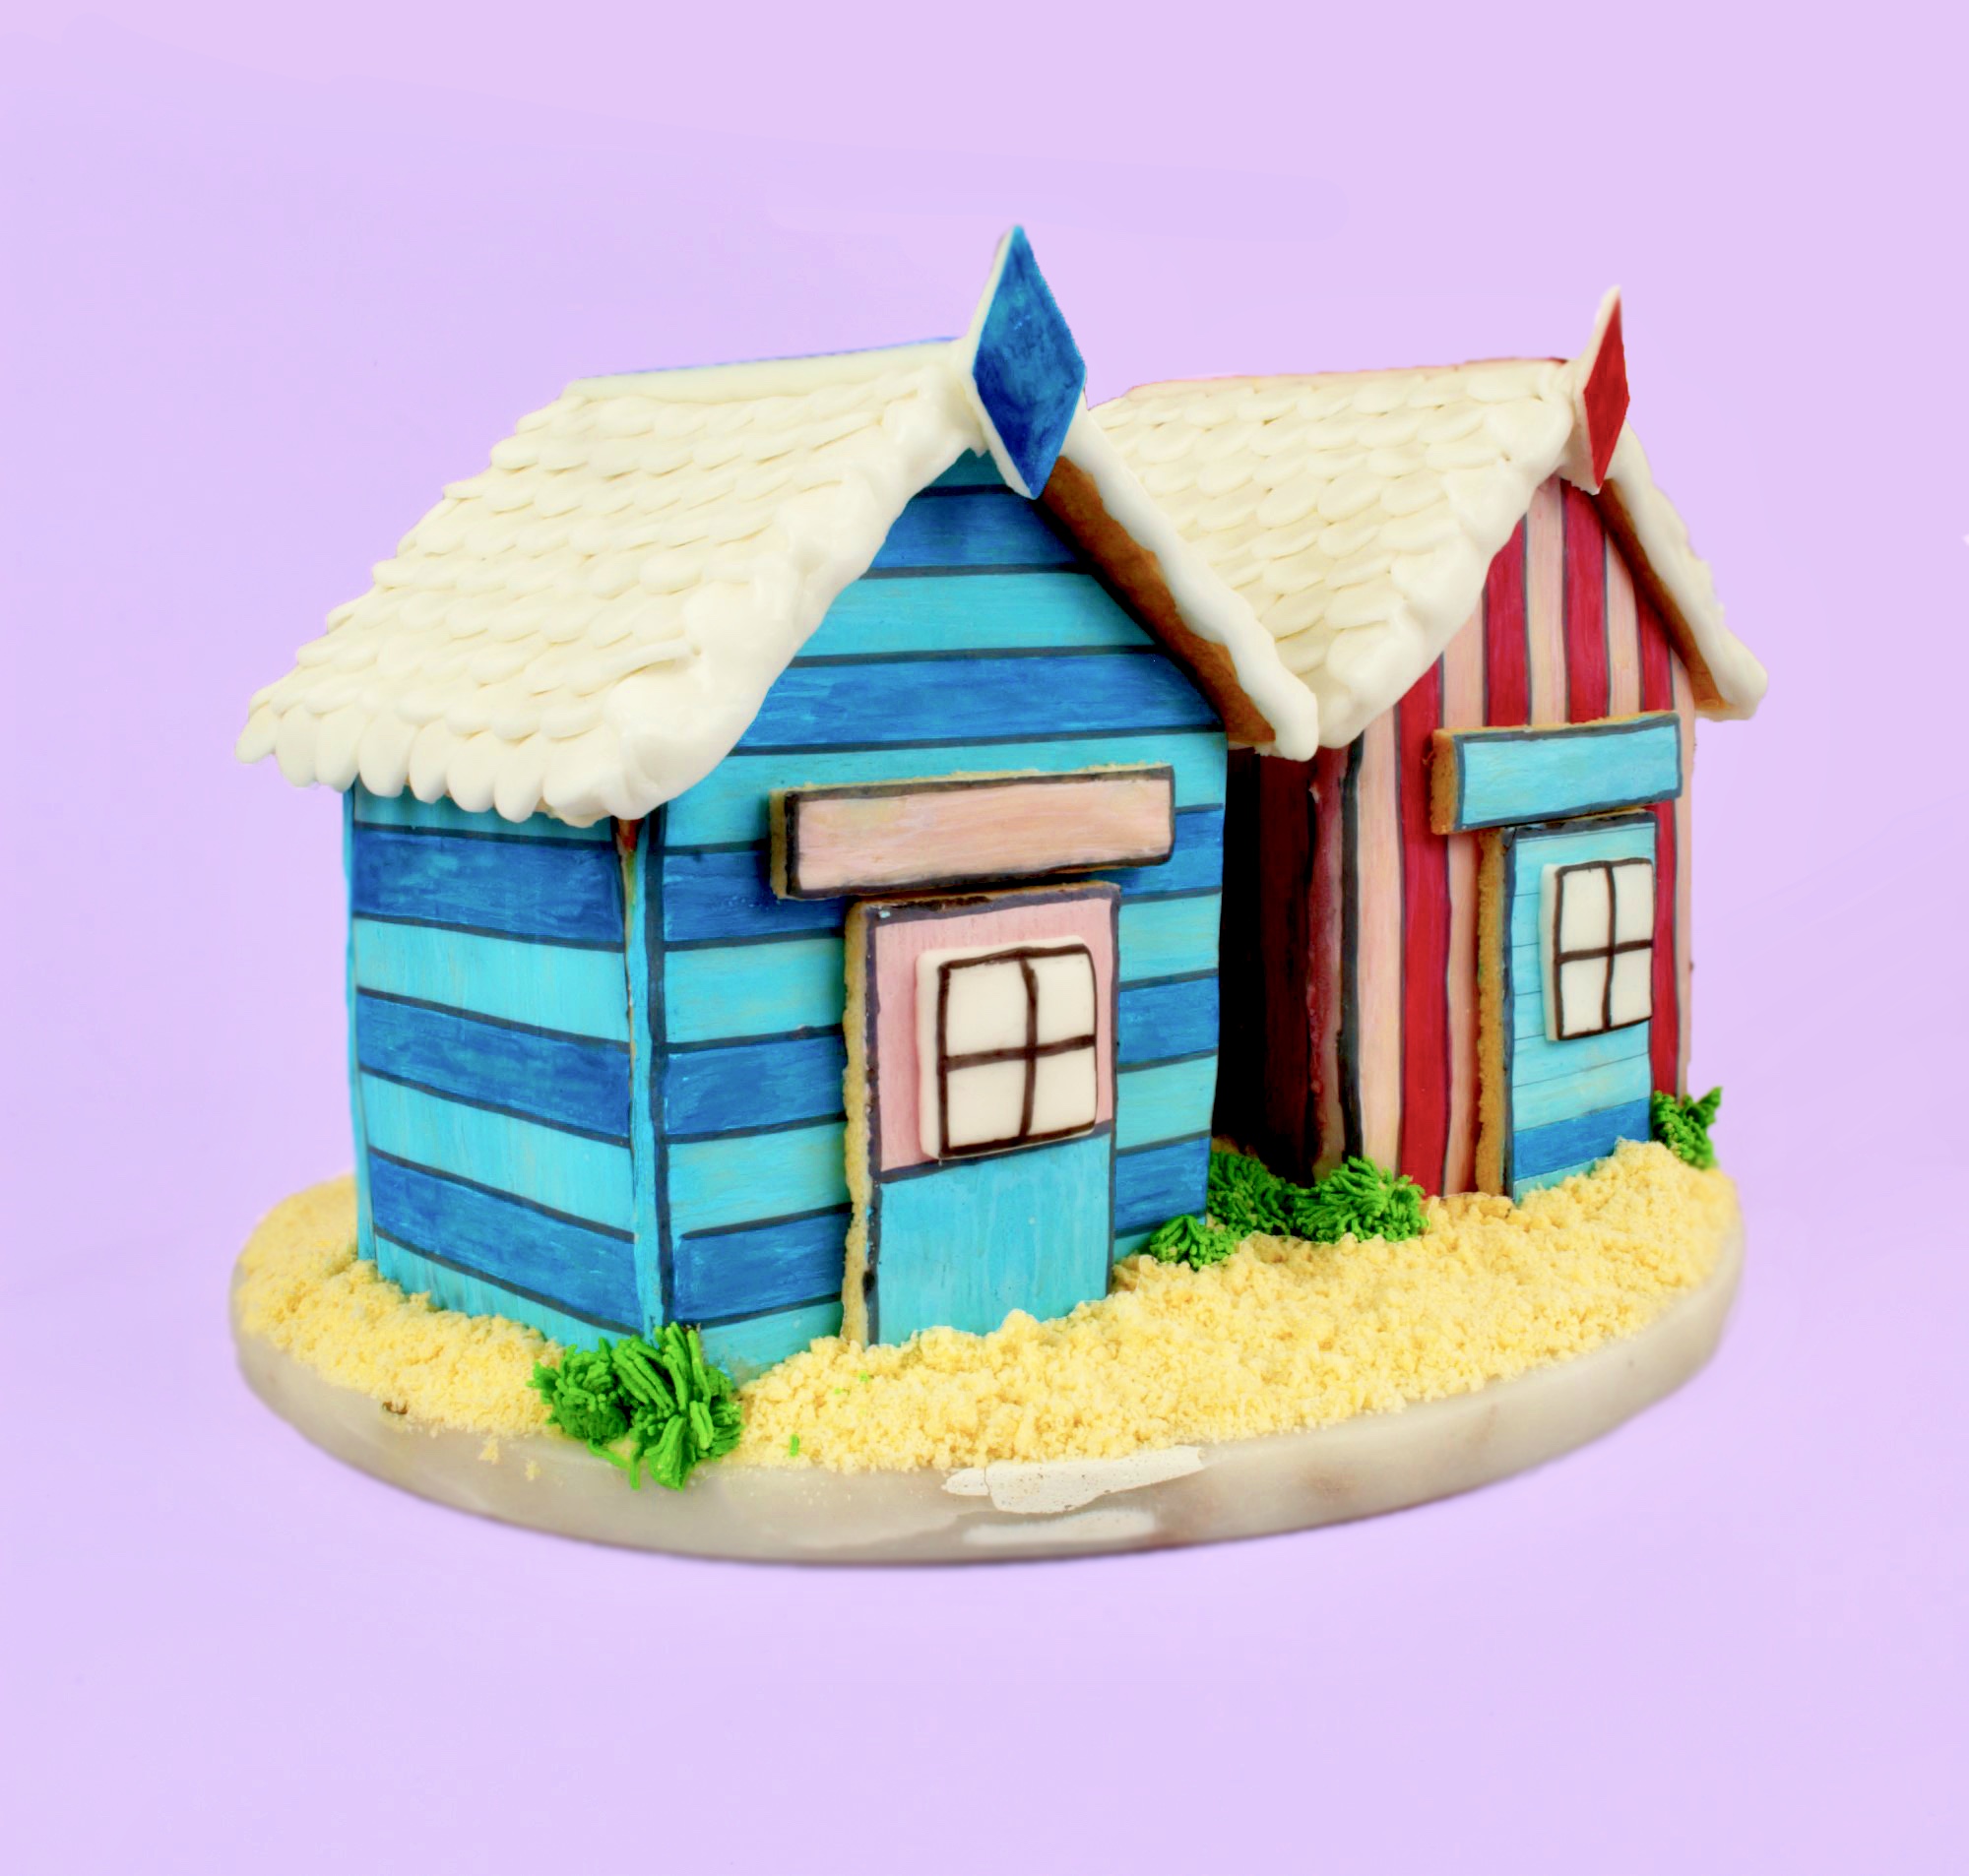
Super Cute Beach Hut Cookie House

Hello! Thanks for stopping by lovely! I’ve got a cracking beach hut cookie house with your name on it, ready and raring to go. I’m sure you can tell but I’ve been completely overcome with this good weather we’ve been getting, it’s all over my recent makes and this one is no exception. Like, if I can’t get to the beach yet, I can bake one!
I think it’s all this Love Island I’ve been bingeing as well, every time they have a wee diary chair moment in the beach hut I’ve been like oh I like a bit of distressed wood where can I fit that in?? Get your mind out the gutter, I’m talking about cookies not Alex! Next week, I’ve even got some cracking cupcake toppers inspired by the pics that hang above the beds in the villa. I can’t help it, I’m an out and out reality TV junkie. Why is it so addictive?? Why can’t I look away?!

Unusually for me, I’m gonna rate this project as medium difficulty because it is a little bit fiddly and more time consuming than my normal bakes, but you know what? I think it’s good to test yourself every so often. You know, flex those creative muscles and all that. Even though it was a little more demanding (how very dare it) than normal it was still loads of fun. I mean, so much happy dancing when it stayed standing all on its own. And then I had to rush off to meet my wonderful friend for drinks and when I came back it was still in one piece, result!! I love that wee boost you get when hard work pays off and you can give yourself a pat on the back. Good game, good game.
I’ve stuck with a sugar cookie recipe but baked it lower and longer to dry it out a wee bit more than usual and make it a bit stronger and more structurally sound. I’m not sure how a different cookie would hold up, but you can add any flavour to this dough or the icing if you want to shake things up a little.
Right, shall we get cracking?
Ingredients
Dough
400g butter
400g sugar
2 eggs (lightly beaten)
800g plain flour
1tbsp golden syrup
2 tsp vanilla extract
Decoration
2 egg whites (pasteurised)
450g icing sugar
1 tbsp lemon juice
300g white fondant
Gel food colouring – blue, pink and green
Black edible pen
1 tbsp PME Mix & Paint (or any other brand)
Method
1.Download and print my free beach hut cookie template here. Cut out each piece and set aside for later. If you want to use them more than once, you can laminate them. Otherwise, they’re a bit of a one-hit wonder.
2. Line 3-4 large baking trays with parchment paper. If you don’t have that many, don’t worry you can bake them in batches.
3. In a large bowl, mix together 400g of butter, 400g of sugar and 1 tbsp of golden syrup. It’s best to use a spoon rather than an electric mixer for this to avoid over whipping. When just combined, beat in 2 eggs until fully mixed.
4. Add in 800g of plain flour and mix with a spoon until it starts to come together into a dough.
5. At this stage, turn it out onto a well-floured counter and knead it gently into a ball. Cover the ball a few times in cling film and move it to the fridge to chill for 1-1 ½ hours.
6. When the dough has chilled, turn it out onto a floured counter and roll it until it’s the thickness of roughly 2 x £1 coins. I found it best to do this in batches cos my counter was just not big enough for all that dough.
7. Using the template, we printed earlier, cut out all the shapes you’ll need for 2 beach huts (the template will tell you) and gently move them to the lined baking trays.
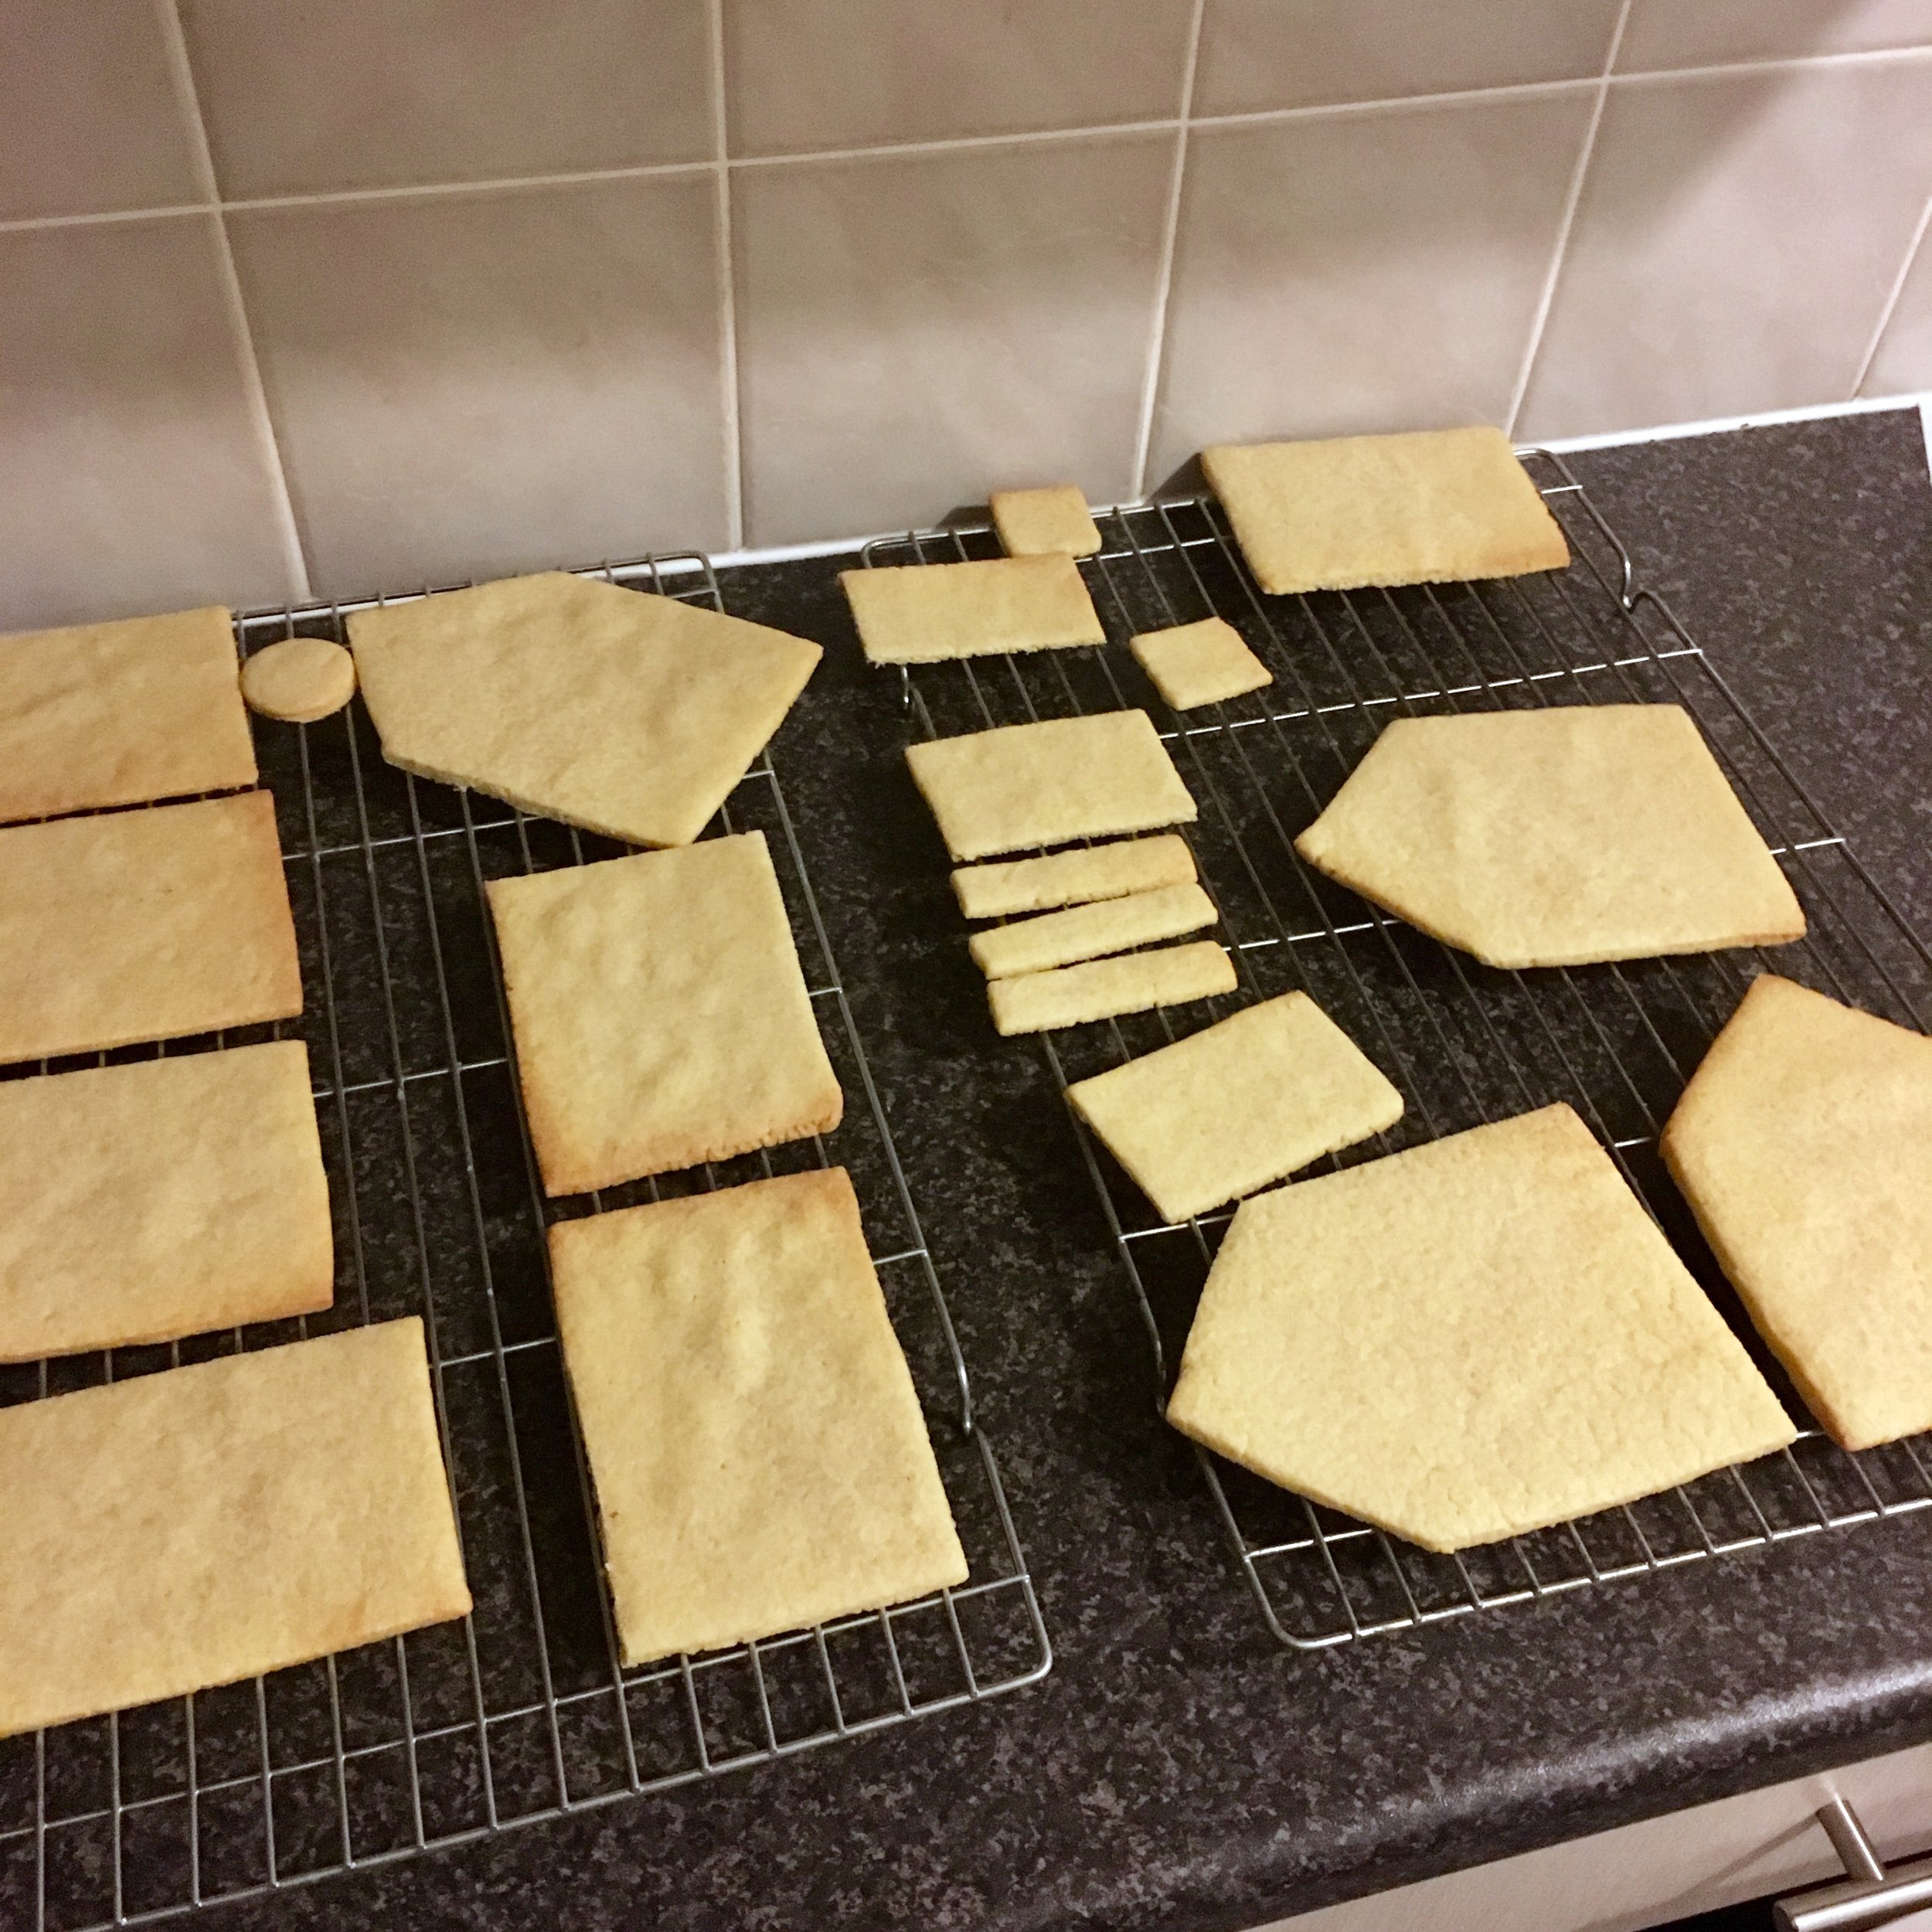
8. It’s good at this stage to lay your templates back over the shapes now that they’re on the tray to make sure everything still lines up. If not, gently move back into shape or trim off any excess that may have appeared.
9. Place any remaining rolled dough onto a baking tray as we’ll bake this and then crush it to make the sand later.
10. Move the trays to the fridge for at least 1 hour, this will help the butter harden again and stops them from spreading in the oven. I got lazy on my second batch and did not chill long enough, as you can see above they spread and bubbled. Sad face!
11. Once the dough has chilled again, bake the cookies in a pre-heated oven at 170°C (150C° Fan) for 15-20 minutes until golden and cooked through to the centre.
12. When baked quickly check the cookies against the templates again and trim any excess with a sharp knife.
13. Leave the cookies to cool and firm up on the trays for 5-10 minutes before transferring to a wire rack to chill completely.
14. Prepare the icing by whisking 2 egg whites and 1 tbsp of lemon juice until fluffy but not stiff. Gradually add in 450g of icing sugar until it reaches a 10-second consistency (if you draw a line through it, it should take 10 seconds to disappear).
15. Transfer the icing to a piping bag and cut a small hole in the bottom.
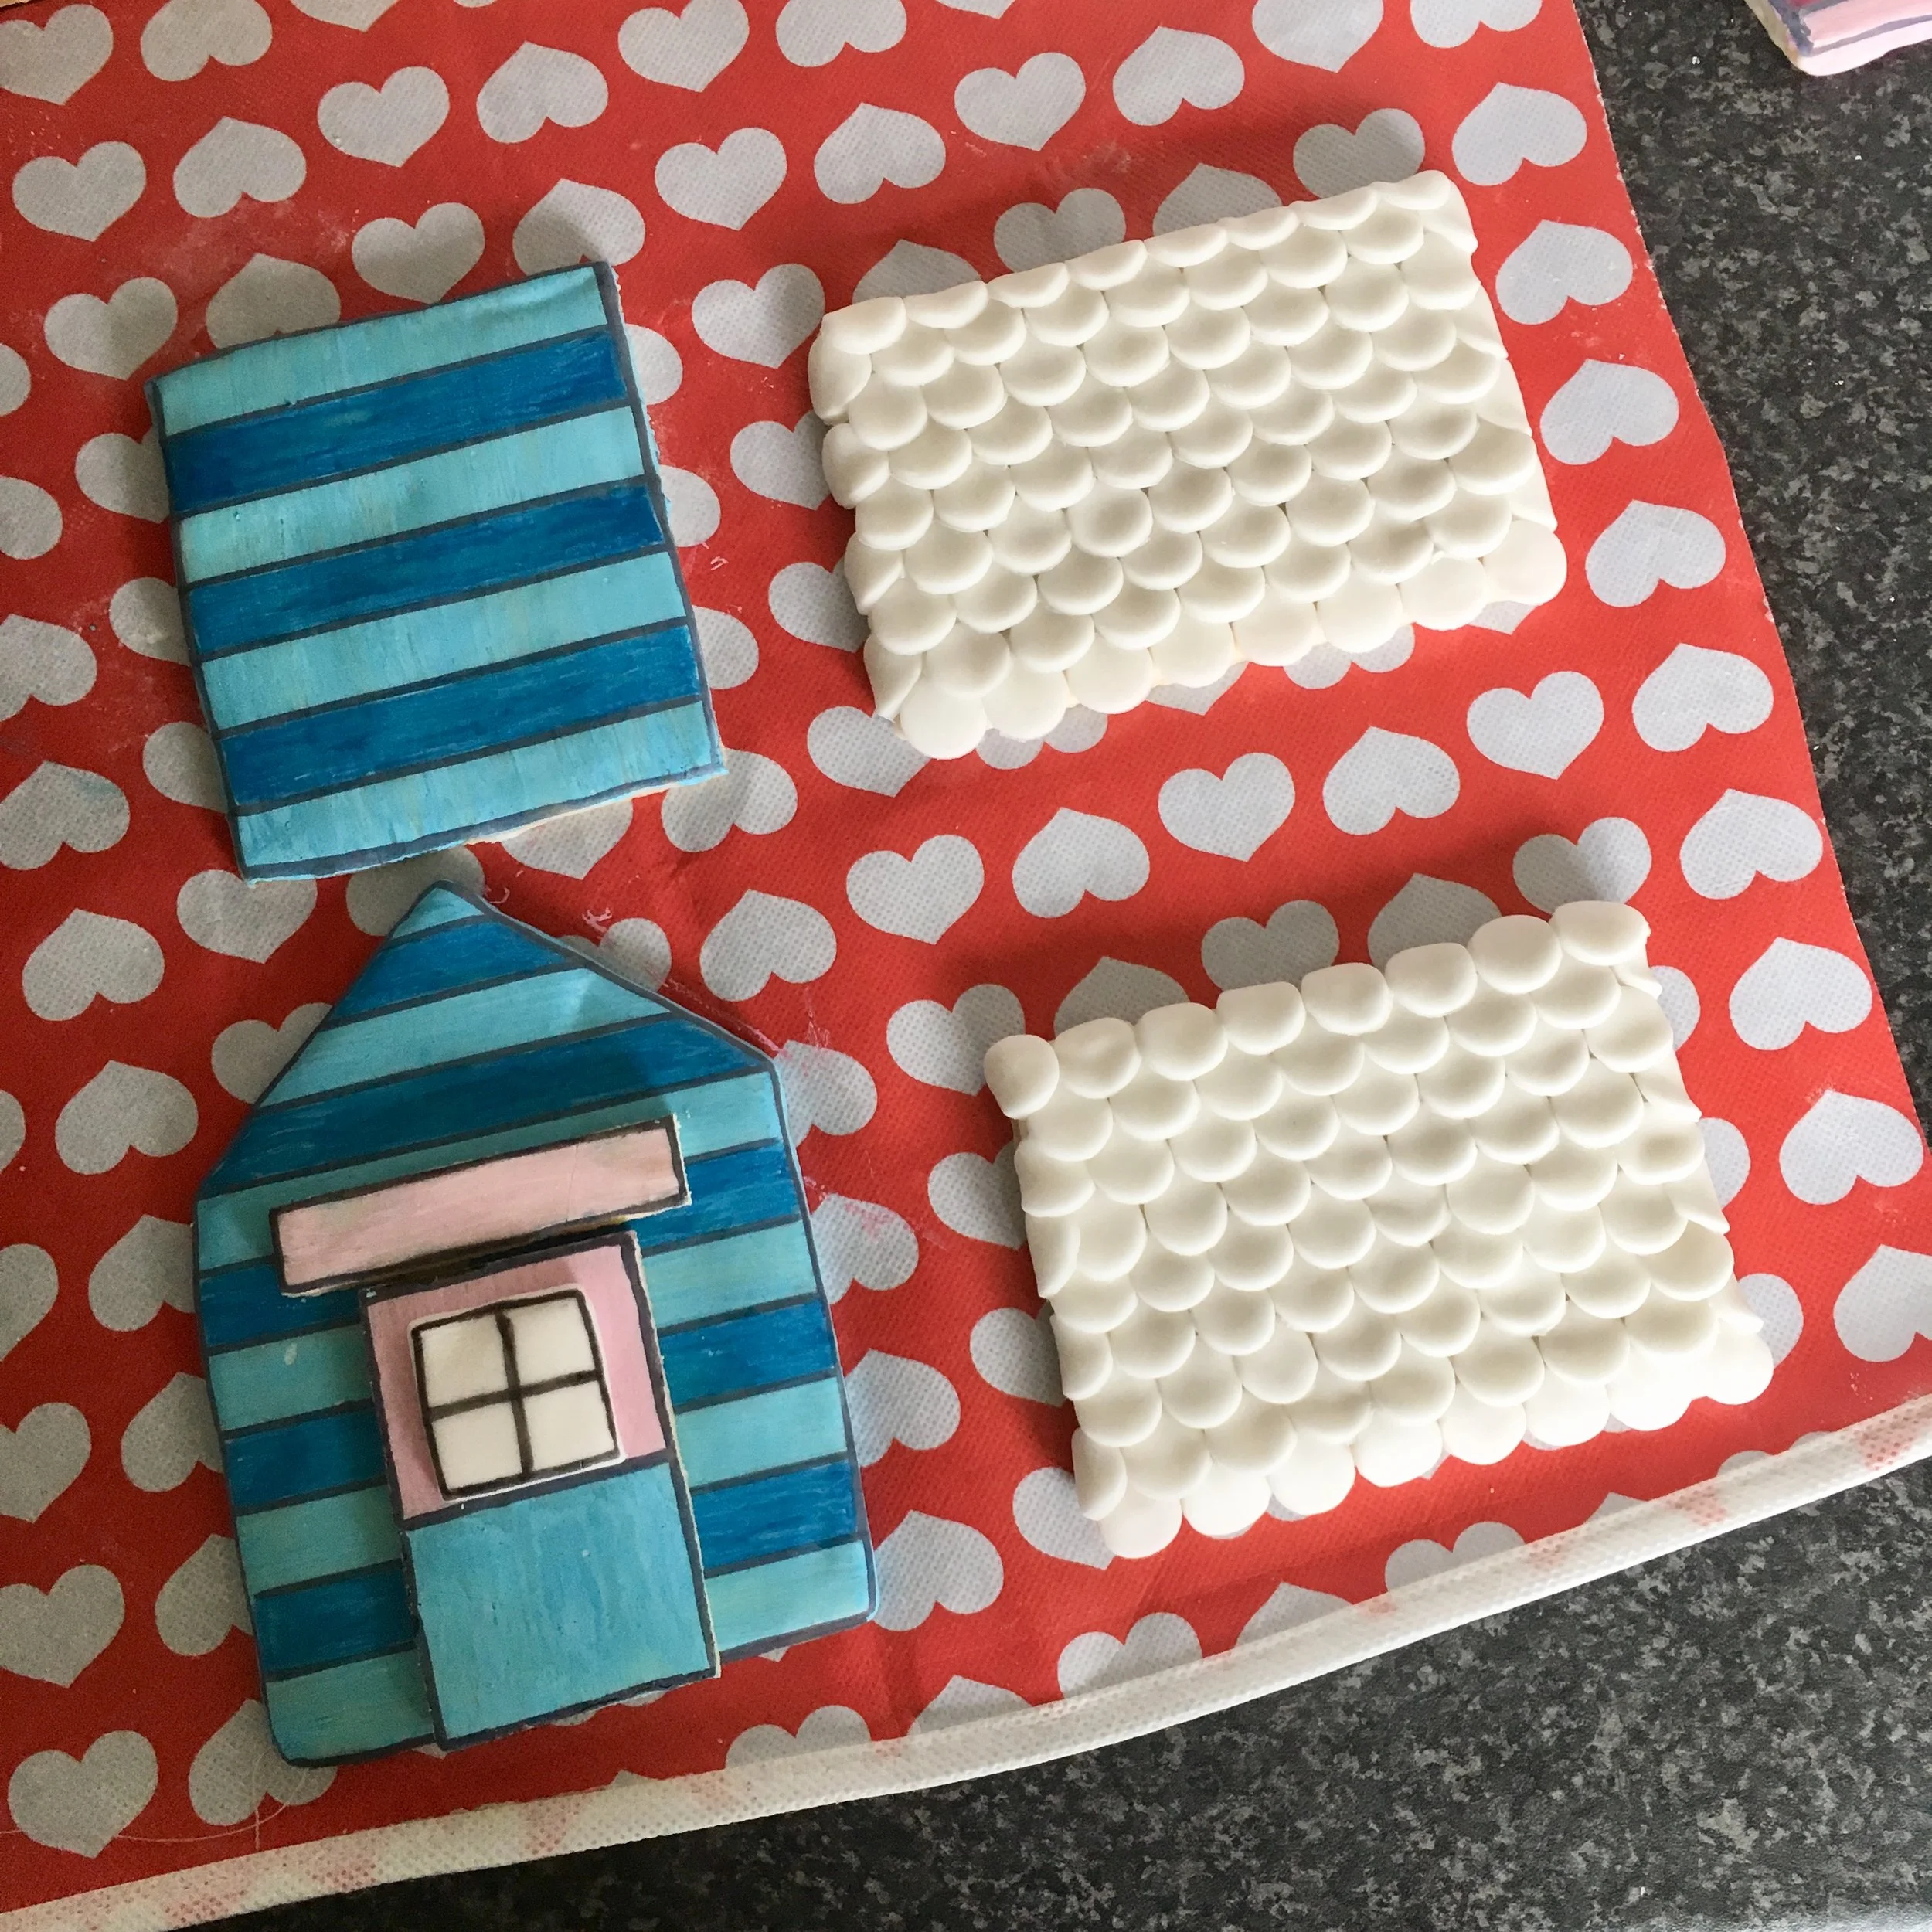
16. When the cookies are cool, cover the tops (except the roof panels) completely with the cookie icing going as close to the edge as you feel comfortable. Leave to dry.

17. For the roof panels, roll out 300g of white fondant until its roughly 1-2mm thick. Using a small round cutter or piping tip, cut out about 20-30 small circles.

18. Attach these in rows to the roof panels with cookie icing. Repeat the process of cutting the circles and glueing on with icing until the tops of all the roof panels are completely covered. Leave to dry.

19. With the remaining white fondant, cut 2 small diamonds to decorate the front of the roof. Place them on some parchment paper and leave to dry.
20. When the cookie icing is completely dry (roughly 8-12 hours) we can start to paint.
21. First, divide up all the panels into 2 separate houses. It's best to keep these apart so you don’t accidentally paint too many of one colour.
22. Mix together a ¼ tsp of PME powder with a few drops each of water and blue gel food colouring until you have a nice pale blue paint.
23. Paint 2 x side panels, 1 x front panel, 1 x back panel, 1 x door and 1 x door trim. Use horizontal brush strokes to create a lovely wood panel effect with the brush. Leave these all to dry.

24. Repeat this process for the pink house except this time, paint the door half pink/half blue and use vertical strokes to paint.
25. When the paint has completely dried, use an edible black pen to draw on individual wood panels. Its best to use a ruler to guide you, I tried to freehand it the first time and it was an epic fail! When the wood is done, draw around the edges of the doors and door trims to create outlines and window panes.

26. Once the black ink has dried, mix a little blue food colouring gel with a drop of water and no PME powder this time. Use this to paint on top of every other wood slat and leave to dry.
27. Using a little cookie icing, attach the windows to the front of the doors and then the doors to the front panel of the house. Leave all the pieces to dry.

28. When everything has fully dried, use liberal amounts of cookie icing to attach the panels to each other and the cake board to build the houses. Start with the side walls and front panel. Line the side panels up along the inside of the front and back panels and hold each in place for a few minutes before adding more.

29. When the main four walls are in place use spare mugs and glasses to hold them secure while they dry completely.
30. When the walls are dry and stable, use quite a large amount of cookie icing to attach the roof panels. Hold these in place for 10-15 minutes before leaving to dry fully.

31. If you don’t have time to hold the roof panels, you could attach them with caramel instead as it dries faster. Just heat equal parts water and sugar until bubbling and caramel in colour and then pour over where the panels will join. Be careful though cos it’s scorching hot and harder to control than icing.
32. When the roof is dry and stable, use the remaining white fondant to roll out 2 little ropes, long enough to stretch front to back across the roof. Attach to the roof with cookie icing.

33. Using a fondant smoother, smooth over the fondant to flatten it slightly. Paint each to match the colour of the houses.
34. Pipe cookie icing along the front of the roofs to even out the tiles and while it’s still wet, stick fondant diamonds we let dry earlier to the front of the roof and paint to match the rest of the house.

35. Moving on to the sand. Take the leftover cookies we baked earlier and place them into a sandwich bag. Then, use a rolling pin to break it up into little pieces like sand.

36. Cover the bottom of your cake board in cookie icing and sprinkle the sand all over to create the beach.
37. Lastly, colour any remaining fondant green. Tear off small pieces of fondant at a time and push them through a sieve to make edible grass.
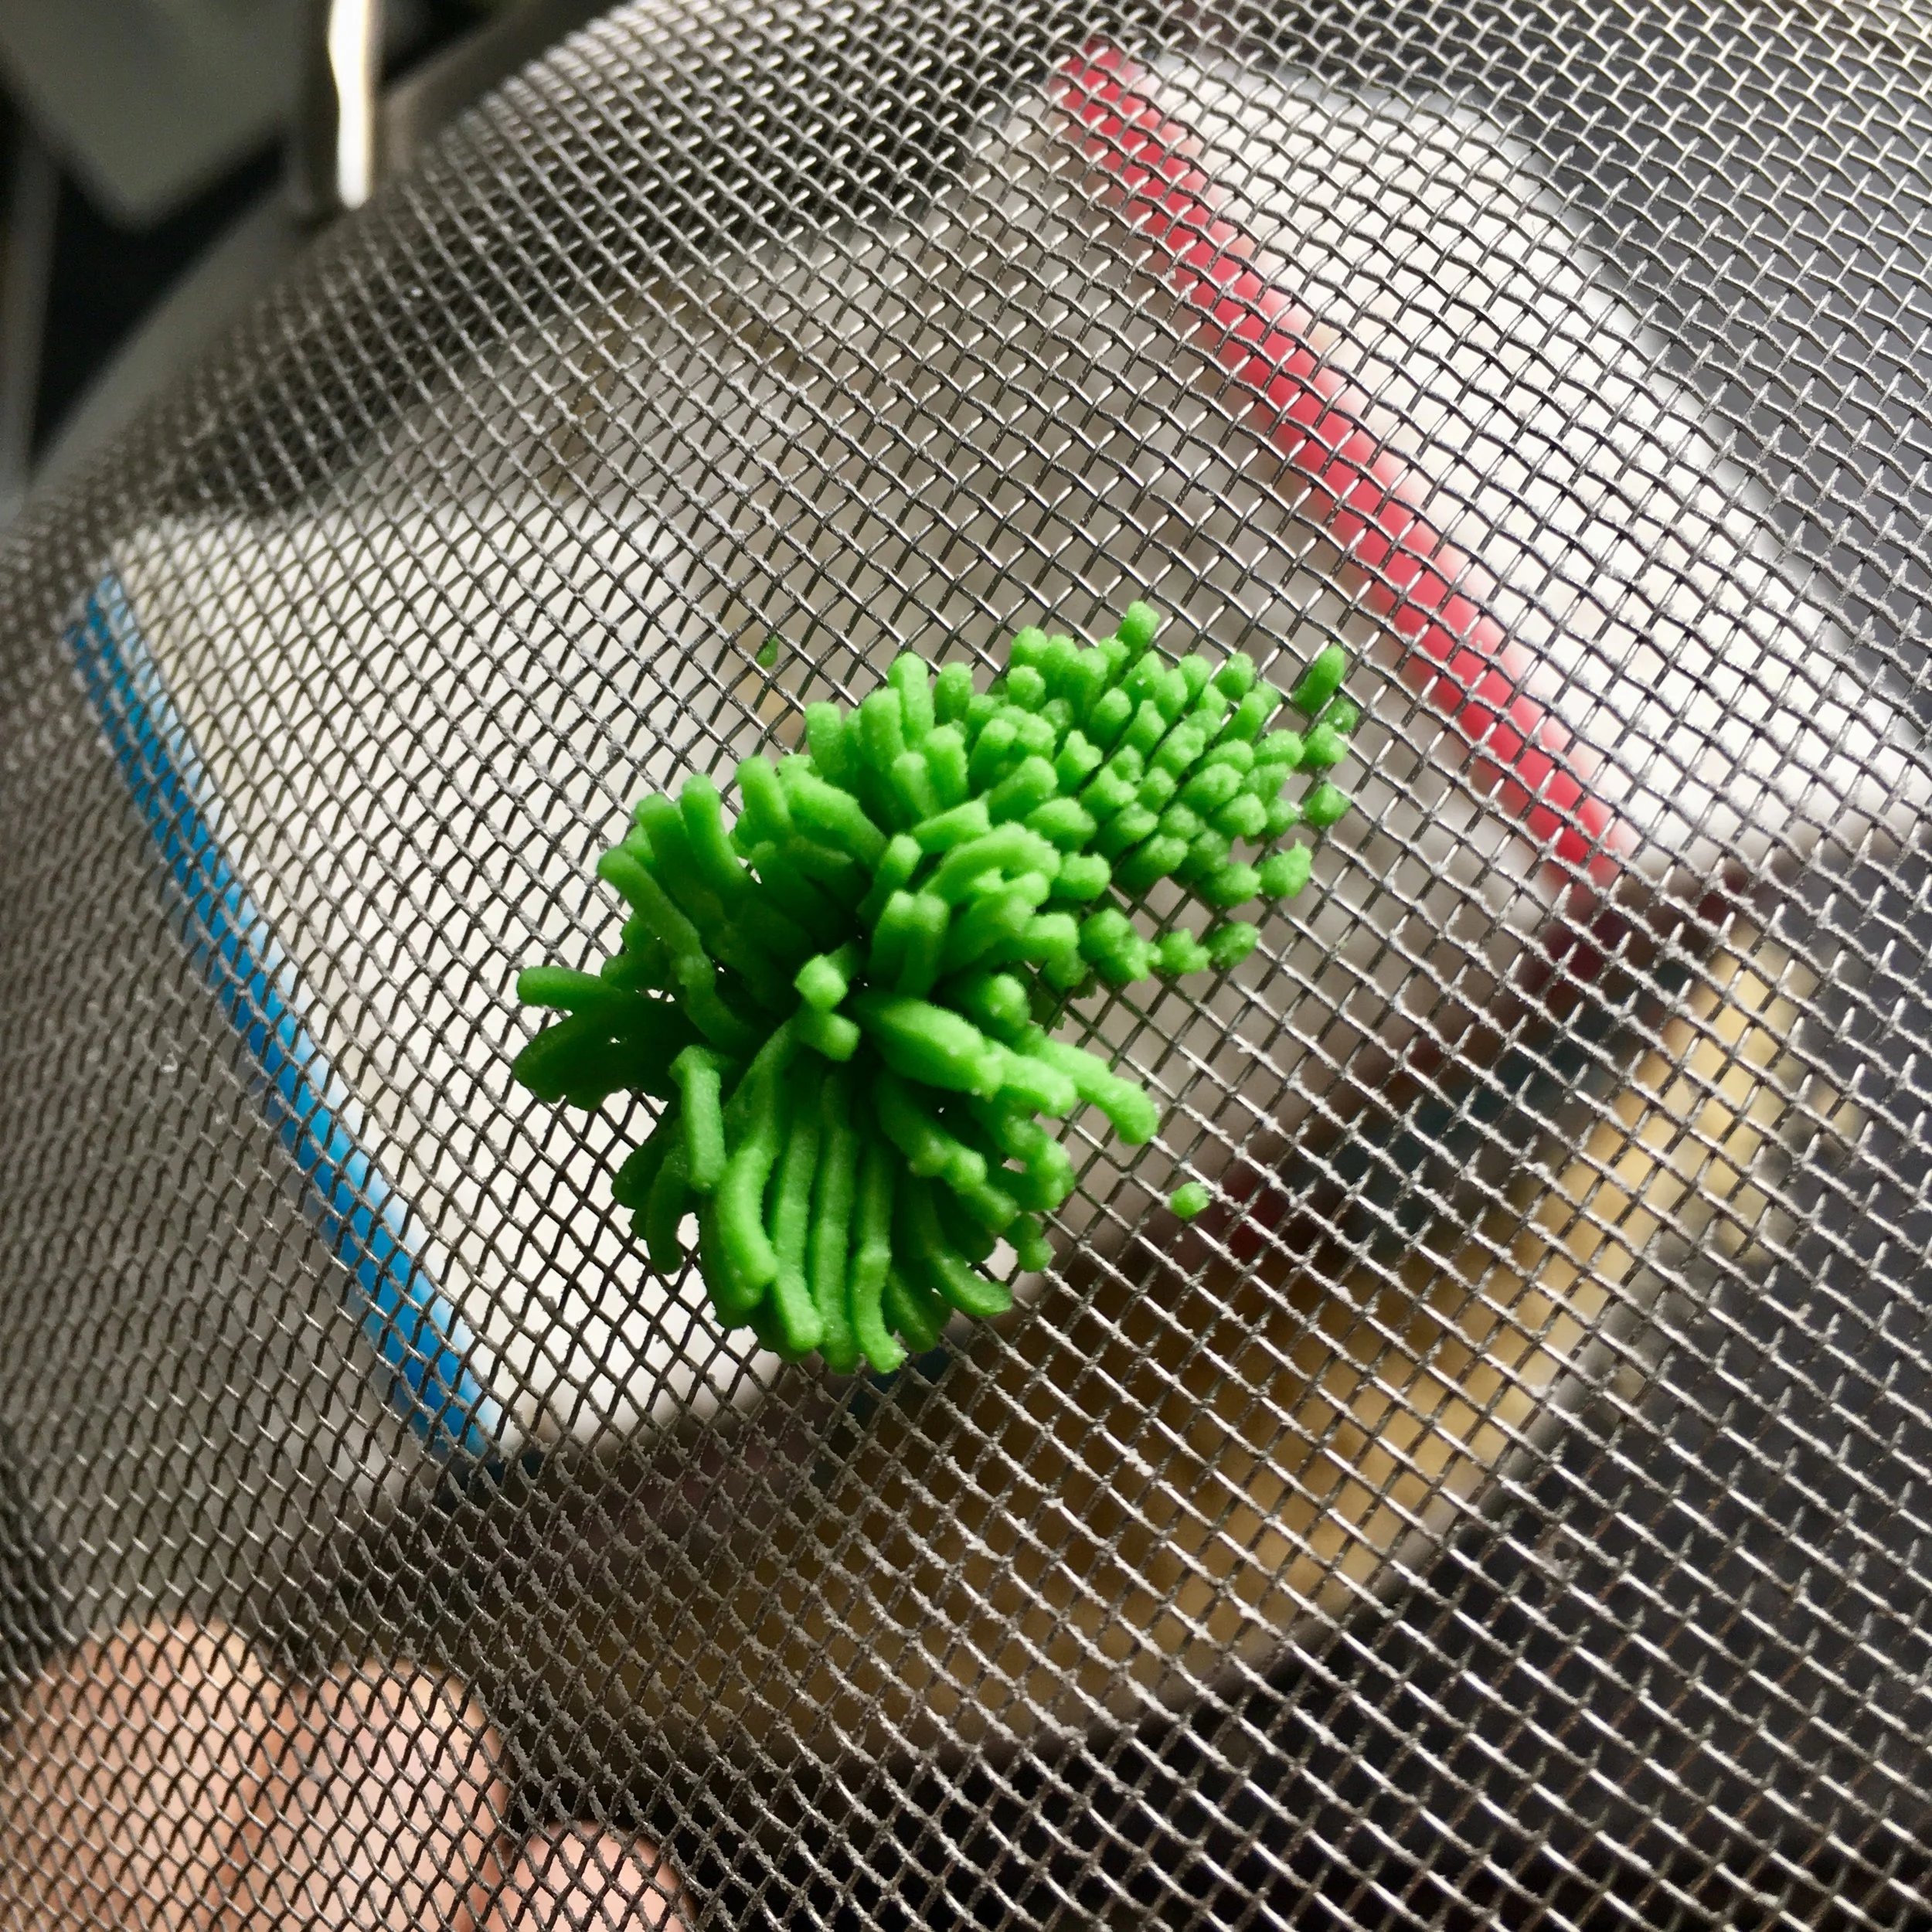
38. Make a little well in the sand where you want to place the grass and then attach it to the board with some cookie icing.
Finished, well done you!
Sharing At


