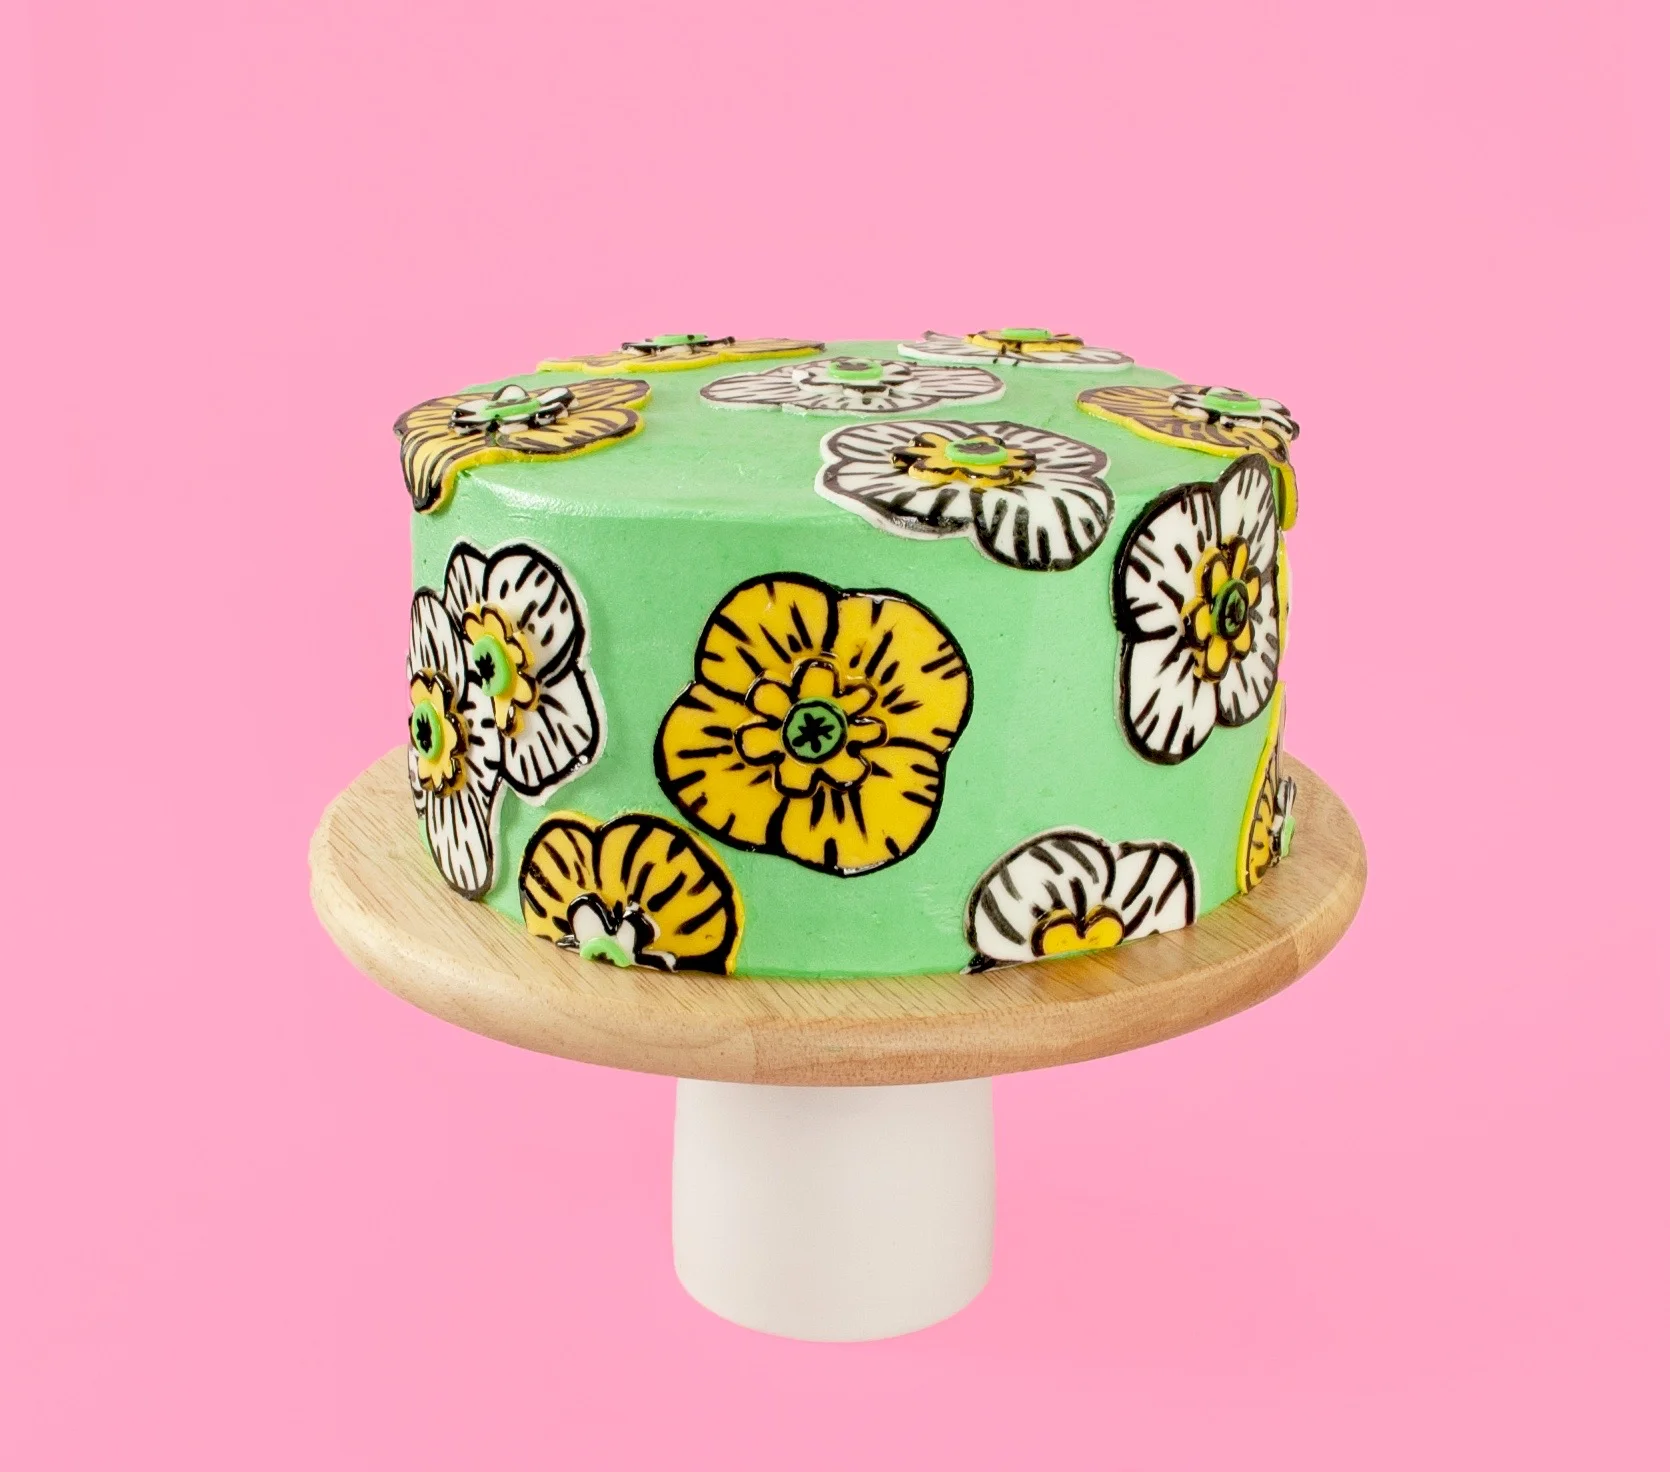
Super Cute Yellow Poppy Art Cake

Hey! I’ve got an absolute treat in store this week because for this cake design I teamed up with my amazing sister Kirsten from @lesbianceart to transform one of her amazing illustrations into a cake! How cool is that?! Teamwork at it’s best, she’s a wee beaut! Please please please head over and give her a follow because she is just crazy talented, and I know you’re gonna absolutely gush over amazing creations.
And get this, the baking was way more fun than usual with her by my side. She even got her paint on! It was her first-time painting onto fondant with food colouring and look how perfect it is! I couldn’t stop staring and she was fearless, straight in and job done. She’s gonna have to teach me how to be more like that. We created templates and painted taking inspo from this design below which she created just for this cake cos she’s a superstar. She just asked my colours, my favourite flower and off she went, pencil in hand. I’m still astounded! Look at it!

You also might have noticed that last week I took a little break and I just wanted to explain why cos I had the best reason. Well, the first part isn’t amazing, I got a new job, but it comes with a long ass commute (4+ hours a day!) which means I can only do my cakes on the weekend now. But Friday before last, just as I was walking home from the train station my other sister Lynann who lives in Vancouver appeared for a surprise visit! How cool is that?! And I know it’s selfish, but I just couldn’t tear myself away long enough to get the apron out. Forgive me!

Ingredients
Cake
340g butter
340g sugar
6 eggs
3 tbsp of milk
340g self-raising flour
Icing
250g butter
100g cream cheese
500g icing sugar
2 tsp of vanilla
200g white fondant
200g yellow fondant
50g green fondant
Gel food colouring – green, yellow, black
Method
1. Line two 8-inch cake pans with parchment paper and preheat the oven to 180°C/160°C Fan.
2. Cream together 340g of room temperature butter and 340g of sugar until it’s pale and fluffy. Gradually beat in 6 eggs and 3 tbsp of milk until well mixed. Fold in 340g of self-raising flour and mix gently until smooth.
3. Split the cake batter equally between the two lined cake pans and bake in the preheated oven for 35-40 minutes or until a skewer comes out clean.
4. Leave the cakes to cool in the pan for 5 minutes before turning out onto a wire rack to cool completely.
5. While the cakes are cooling, mix together 250g of room temperature butter, 100g of cream cheese, 500g of icing sugar and 2 tsp of vanilla until smooth and spreadable.
6. Gradually colour the butter icing until it reaches the green from the pictures. Use a smear of this frosting to attach one of the cooled cakes to your cake stand or board.
7. Spread a generous helping of frosting over the top of this sponge and then place the other one on top of that. Cover the entire cake in a thin layer of frosting to pick up the crumbs and place it in the fridge to cool for 30 minutes.
8. While the cake is chilling, create a template for the poppy outlines in parchment paper. These will be the guides to cut them into the fondant. I used 3 templates from the print above, each just slightly different to give a little variety.

9. When the cake has chilled and the crumb coat of frosting hardened a little, add a second layer of frosting all over. Be quite generous this time and then smooth it over with a bench scraper or palette knife. Return to the fridge to set.
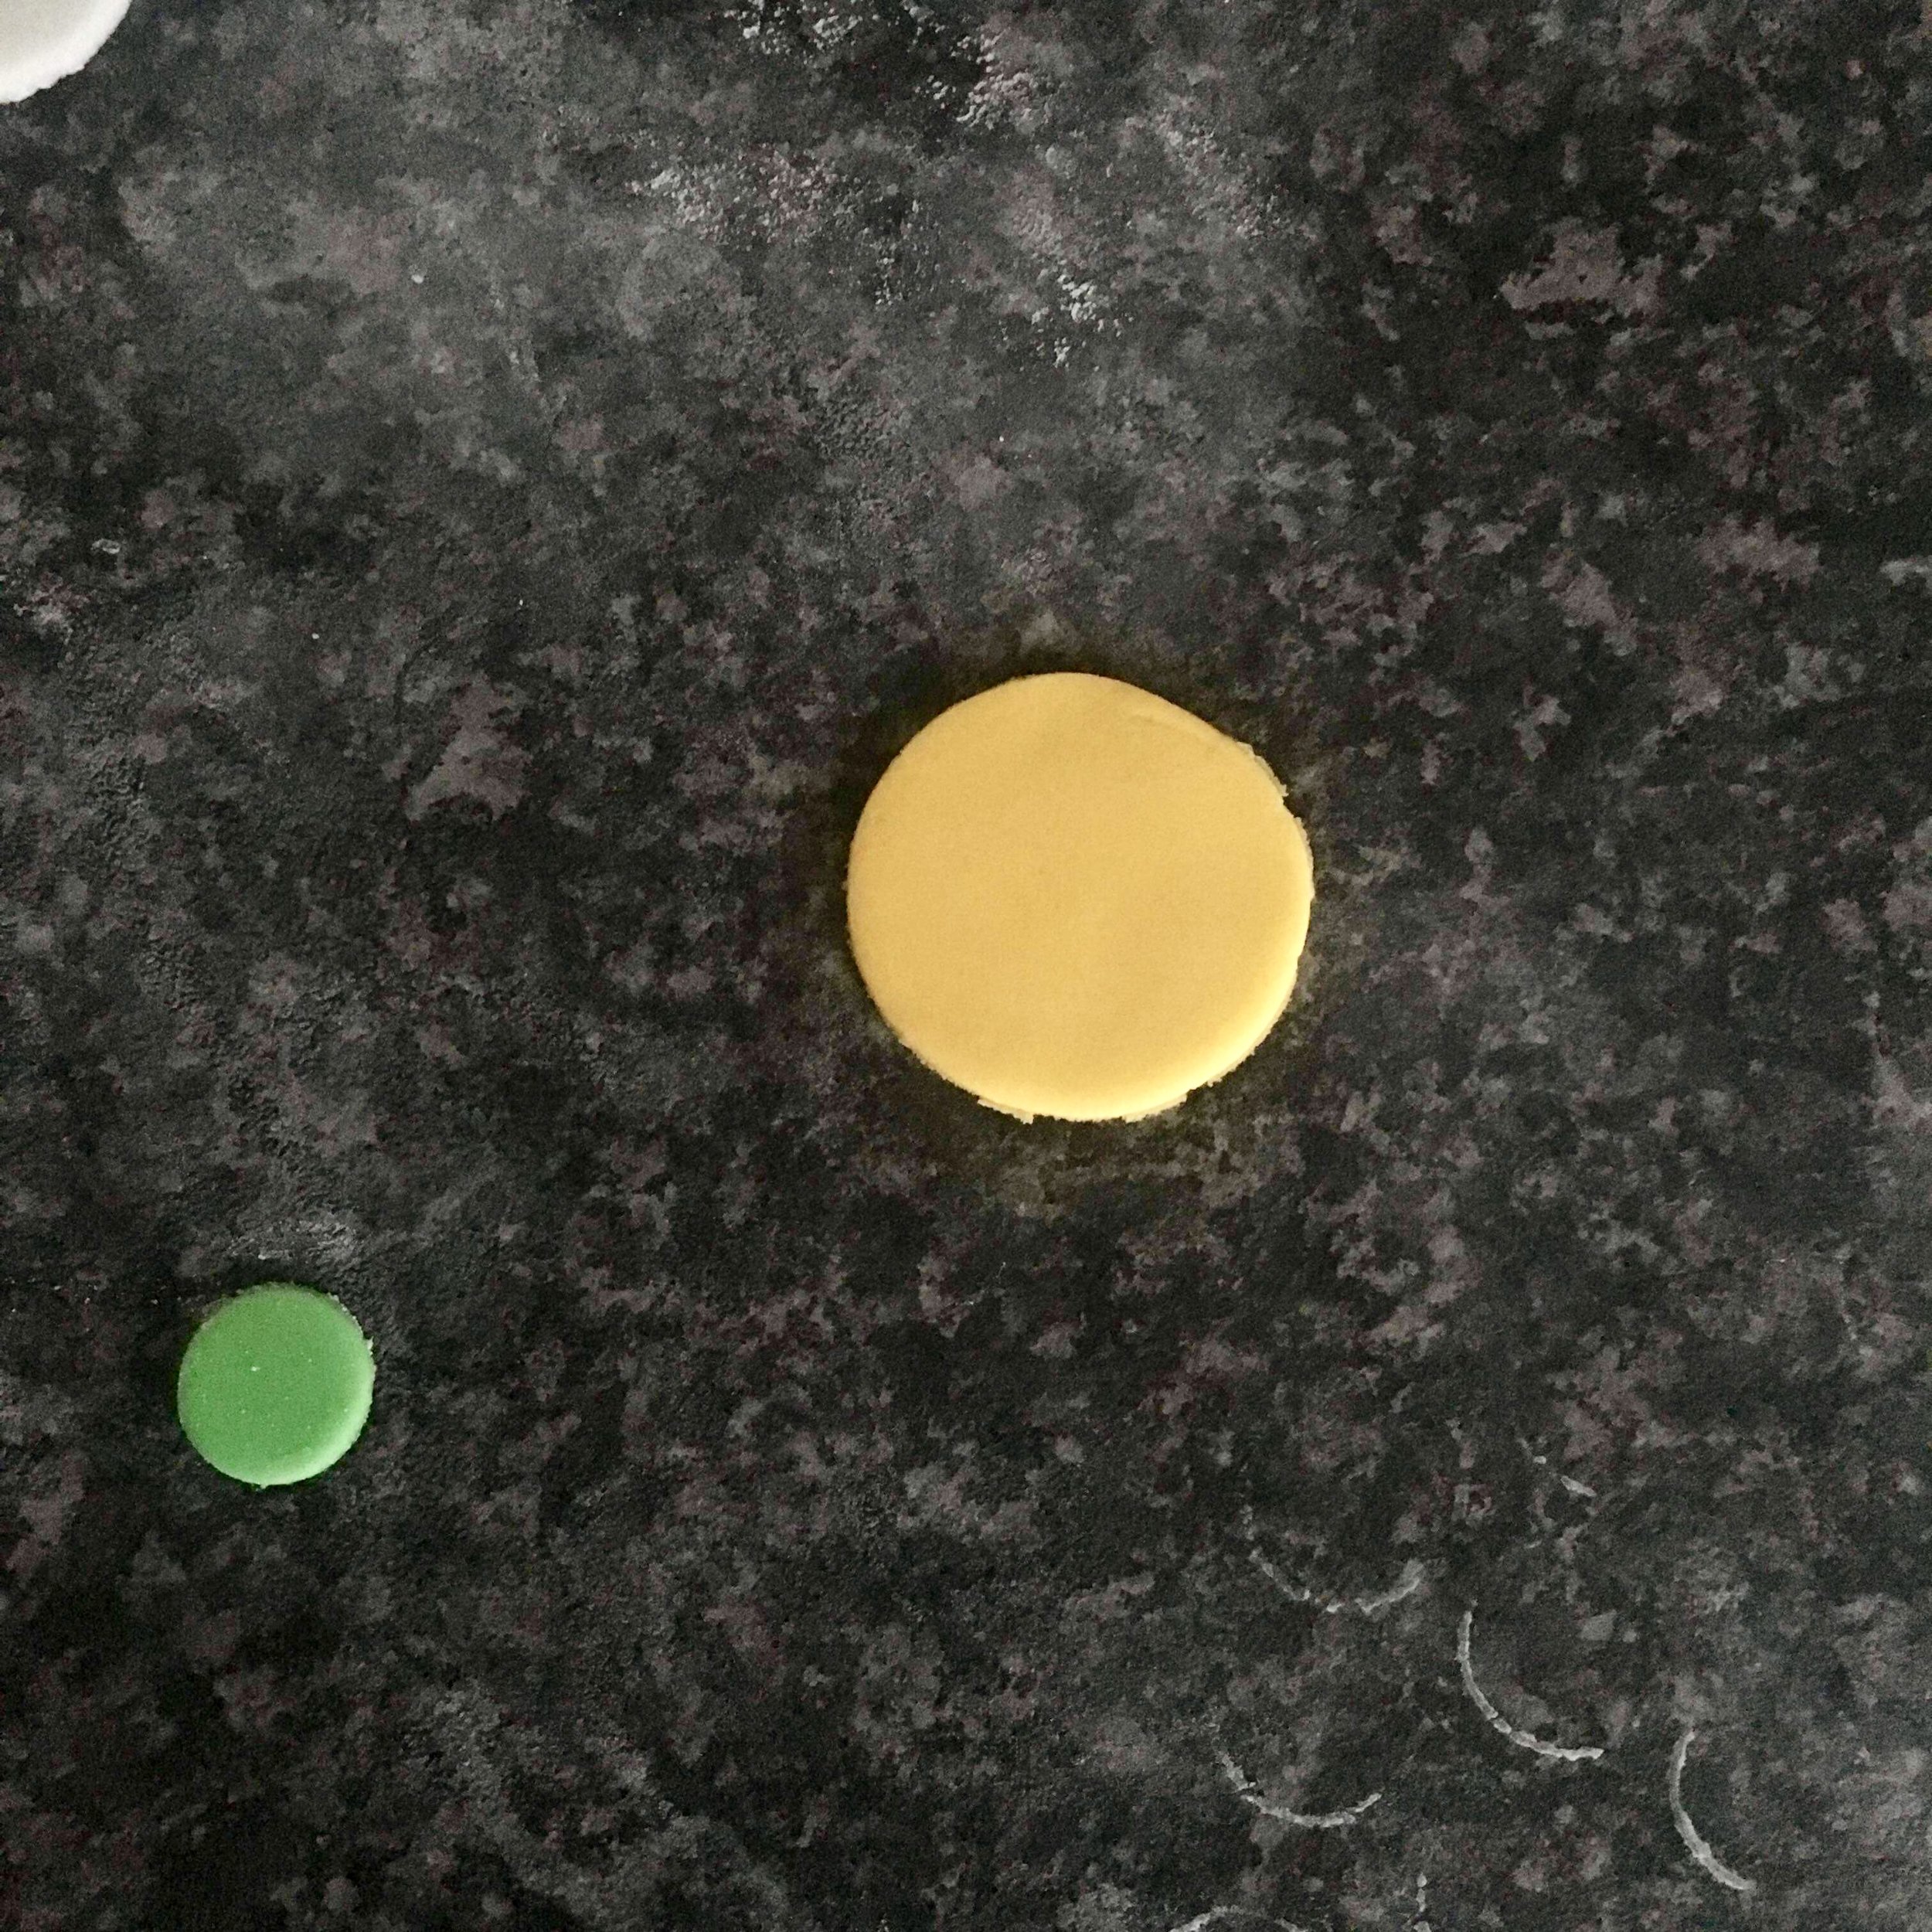
10. Take half of the white fondant and roll it flat to 1-2mm thick. Use one of the poppy outlines you made earlier and place it on top the fondant then cut around it. Repeat another 3 times. If your fondant starts sticking to the counter, dust it with a little cornflour.

11. Tear off a small piece of yellow fondant and roll it to 1-2mm thick. Using a bottle cap or very small cookie cutter cut out 4 small circles.

12. With a sharp knife, gently cut small triangles all around the outer edge of the circles. Using your thumb and forefinger, round off the sharp edges to look like flower petals.

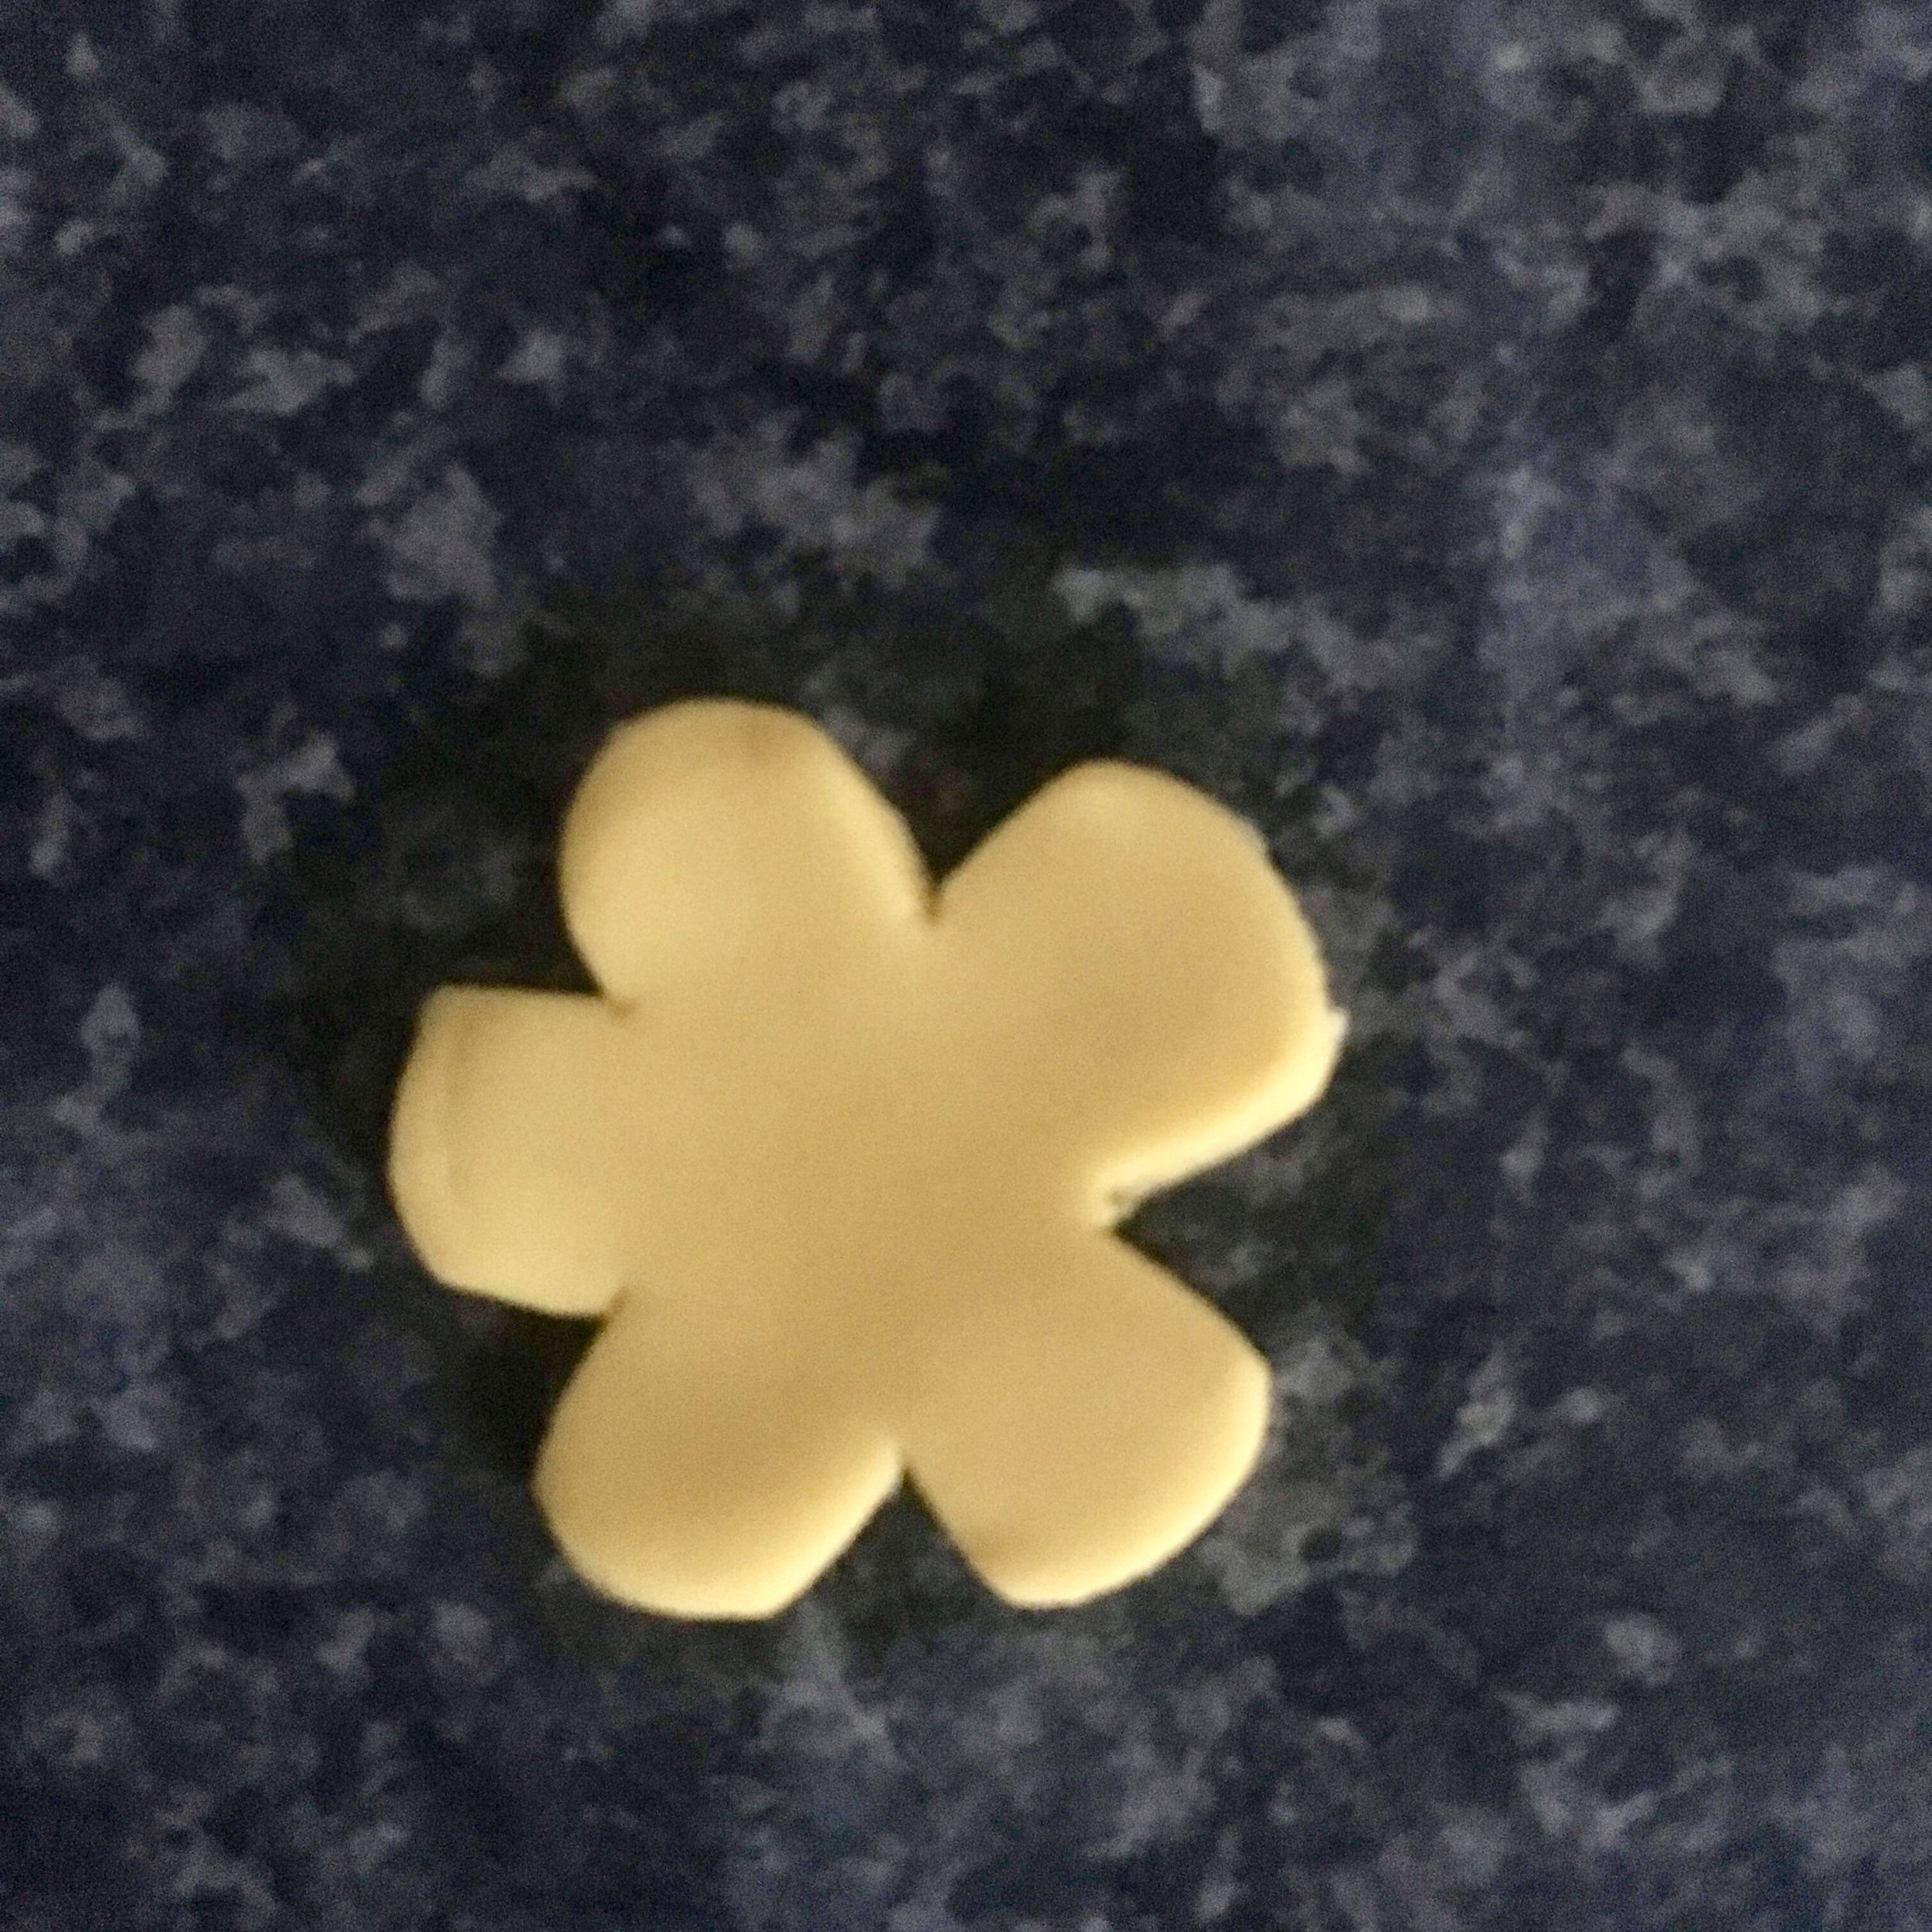
13. Attach these small circles to the centre of your poppies with a little water.
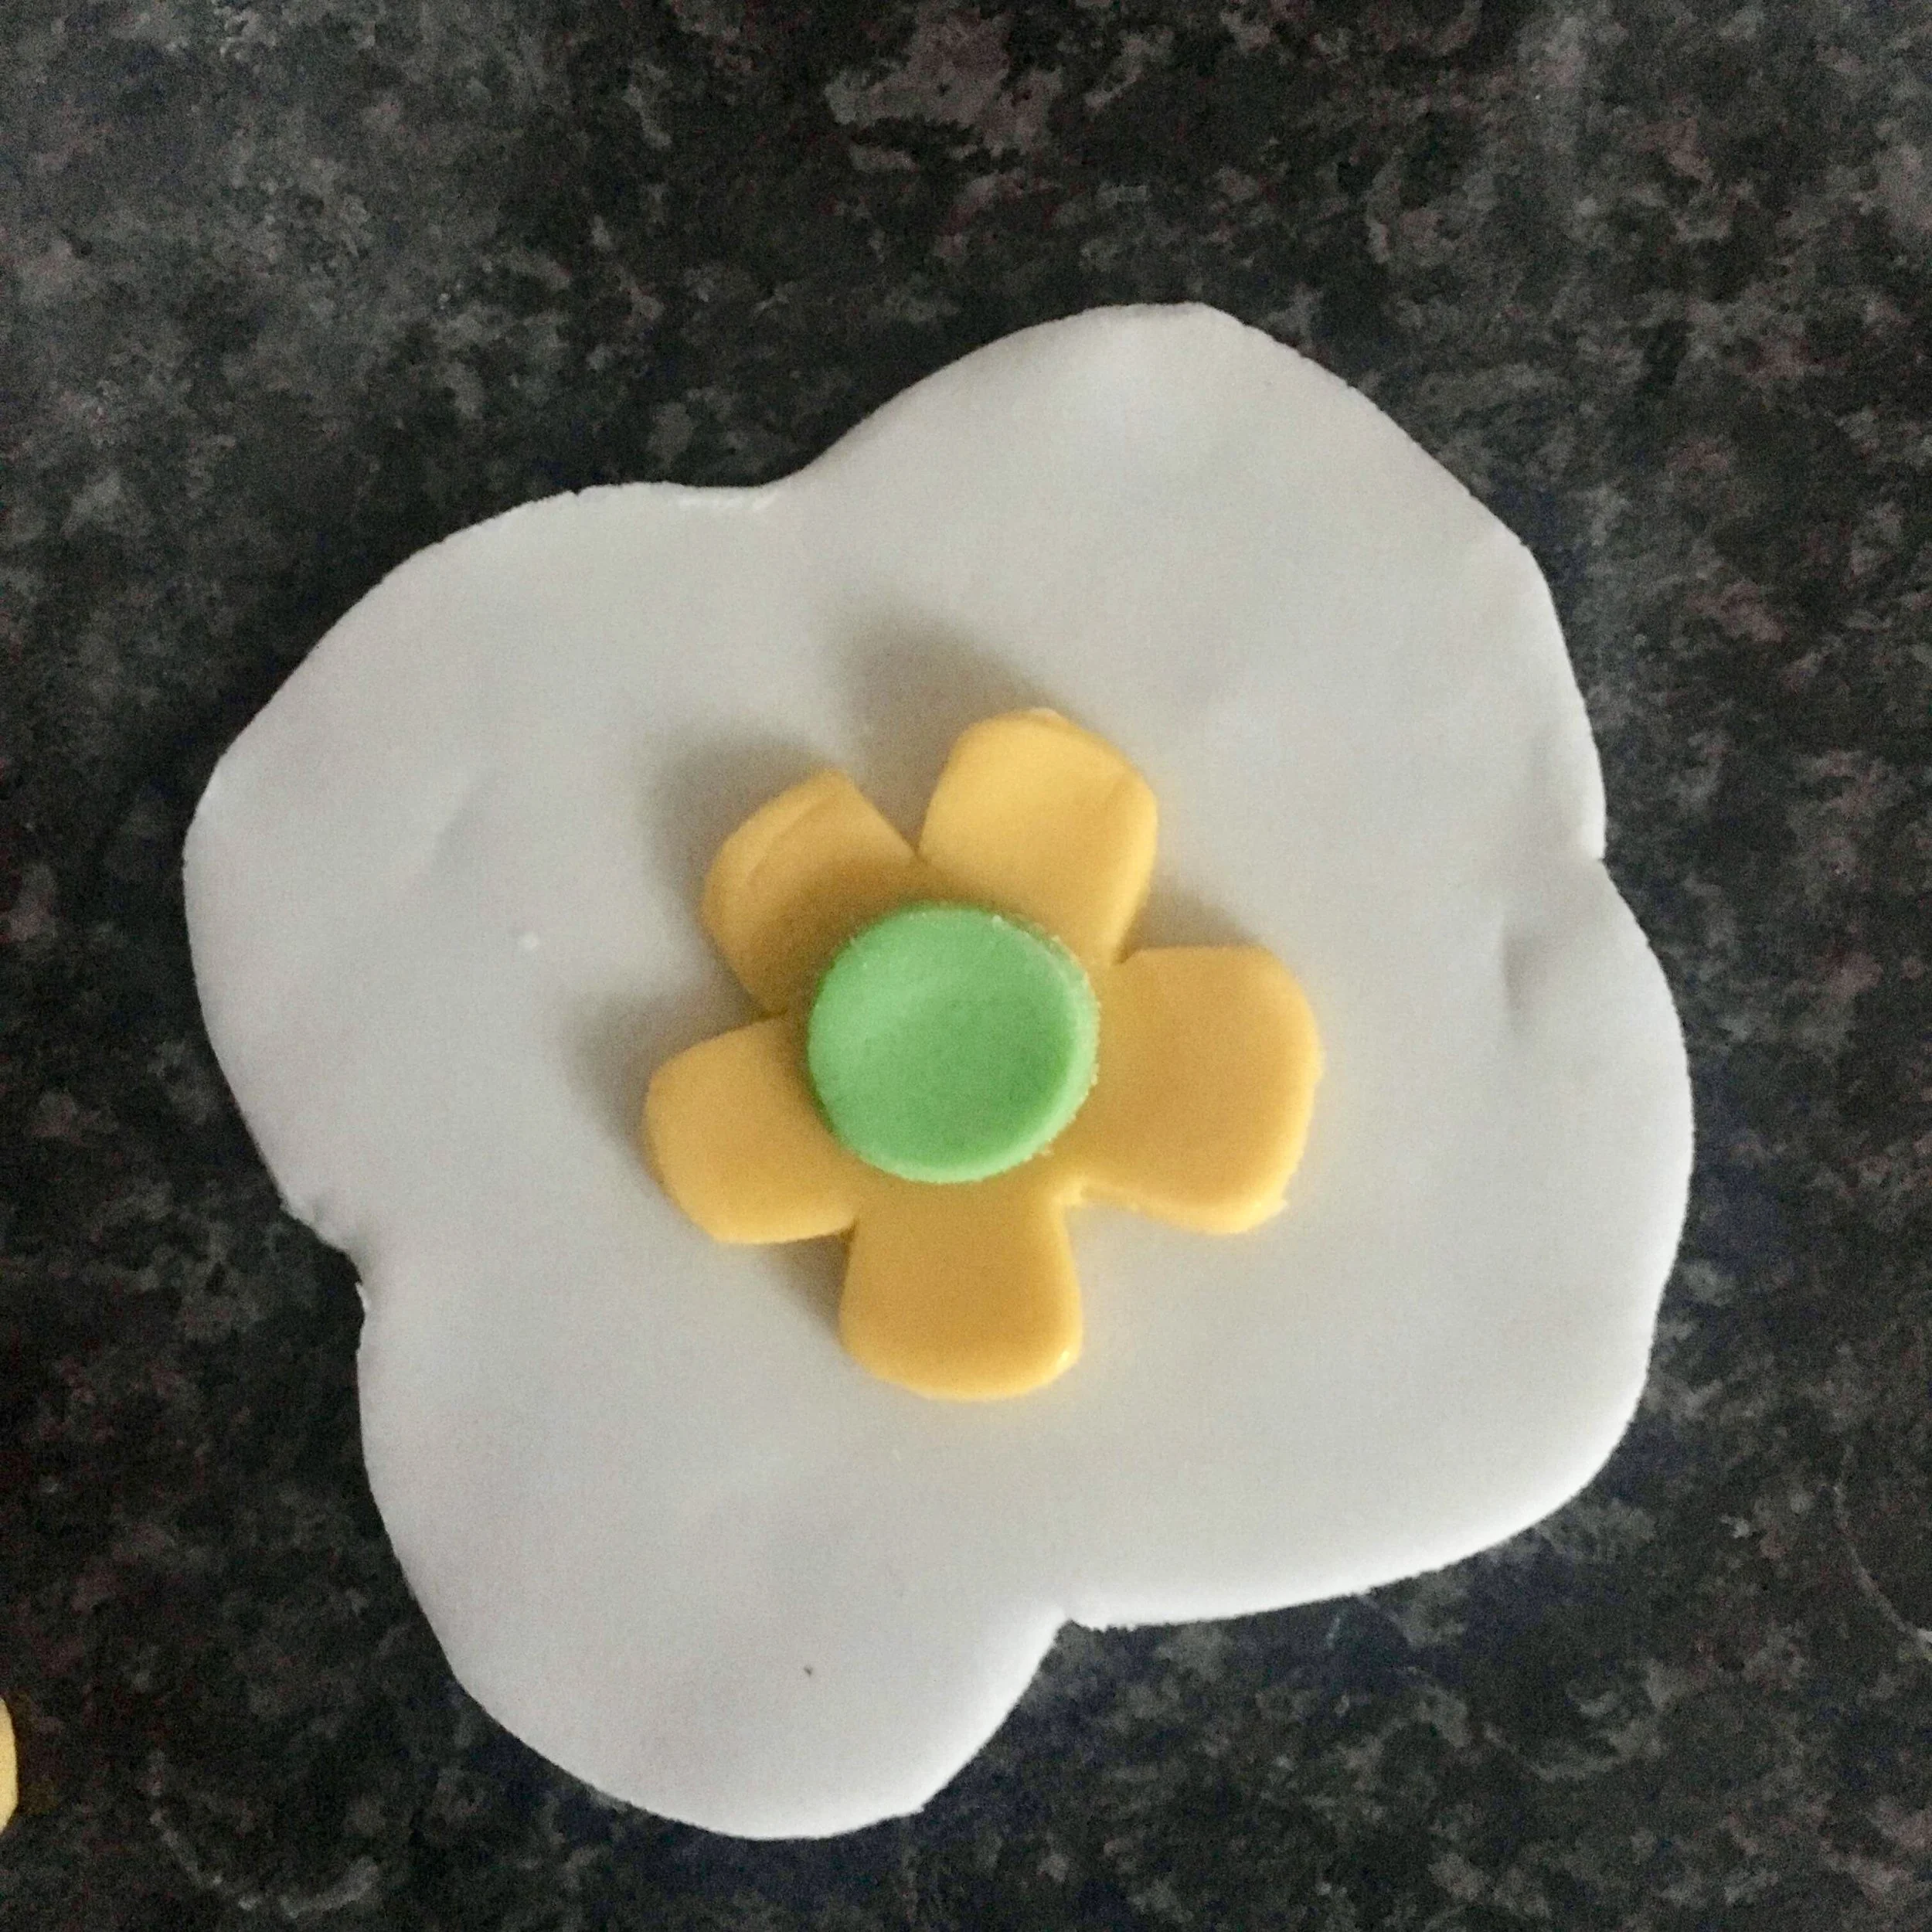
14. This time roll flat the green fondant and cut out 4 tiny circles. Attach these on top again.
15. Mix a drop of black gel food colouring with water and paint on to the poppies around the outline and the embellishment on the petals. I found it best to keep the gel food colouring as thick as possible to keep the colour really striking.

16. Remove the cake from the fridge and mist with a little sterilised water. Place the poppies onto the cake and gently press in with the handle of the paintbrush, careful to avoid the black food colouring. The misting of water should help it stay in place really easily.
17. Repeat this process again but this time invert the yellow and white. Once you have the first 8 in place, continue in alternating colours until the entire cake is covered.
18. If you look near the bottom you can see I’ve also cut some of the poppies in half and lined them up with the bottom edge to better reflect the real pattern.
19. When the cake is covered, you’re done! How easy was that! Tea time.